


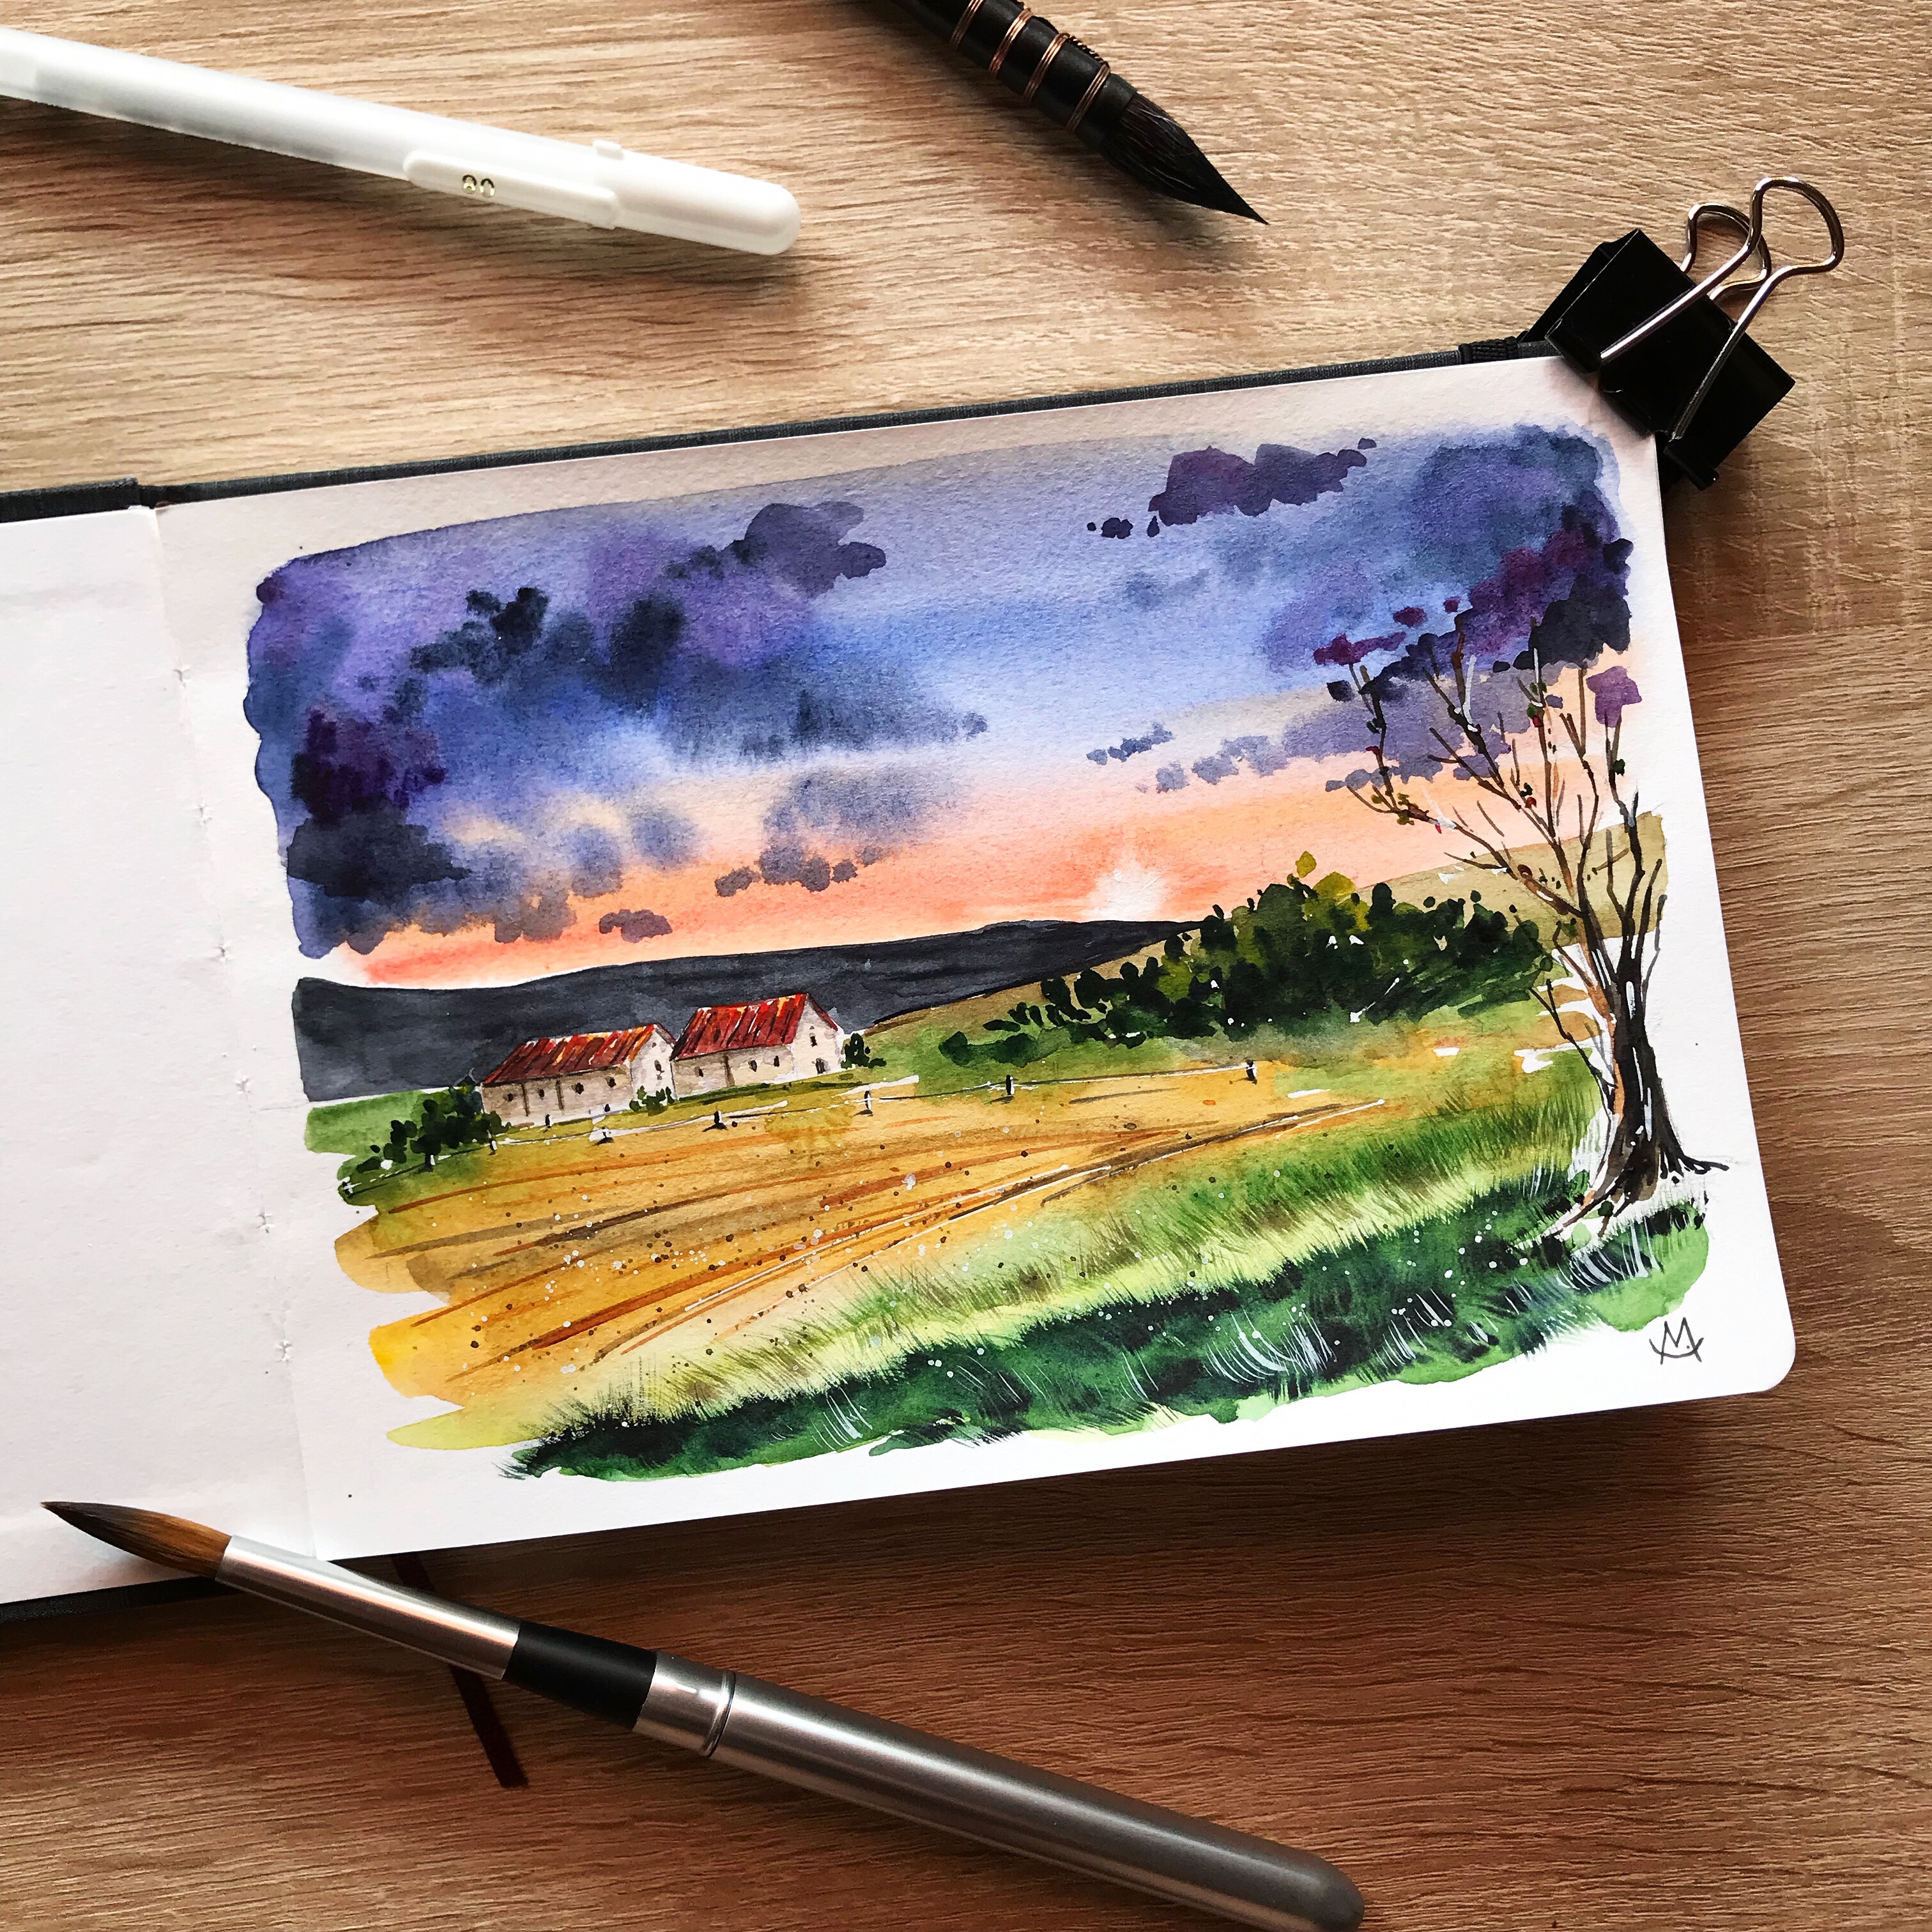
Here i am with another step-by-step tutorial for you! This time we are going to paint a sunset landscape with dark clouds approaching and a dazzling sun setting behind the mountains. I hope you like it and you will enjoy painting this beautiful scenery with me.
Supplies
1 – The Sketch
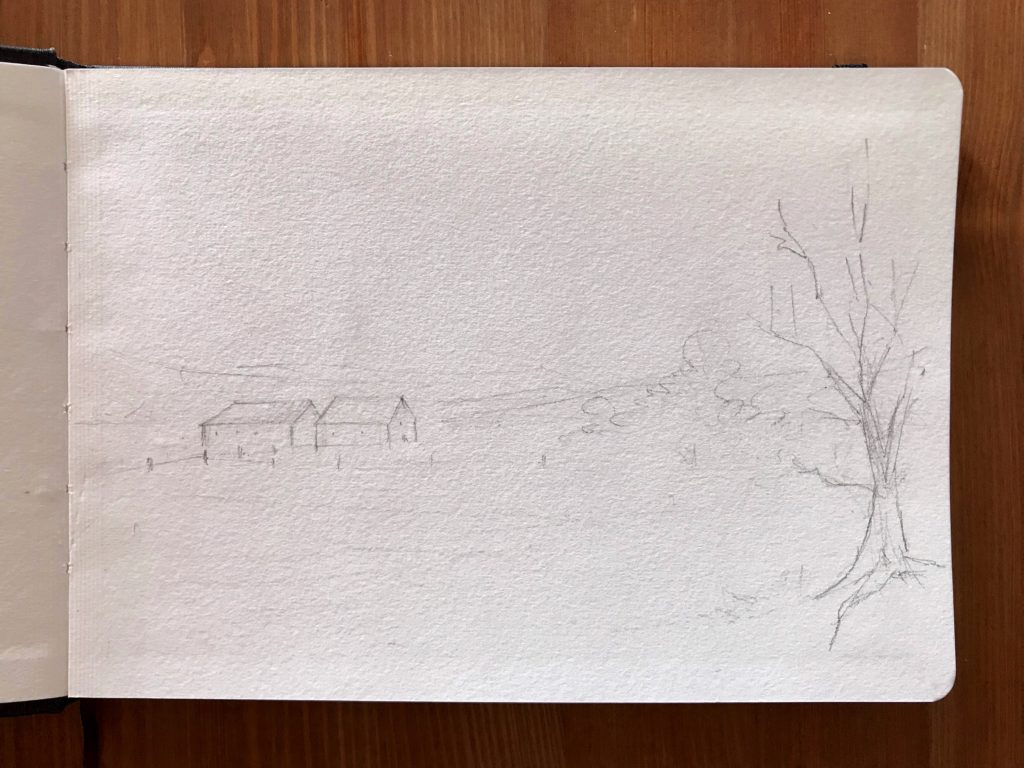
- Grab your sketchbook and draw the main lines and subjects of the painting: houses, vegetation and a more detailed tree on the foreground.
2 – Sunset with clouds
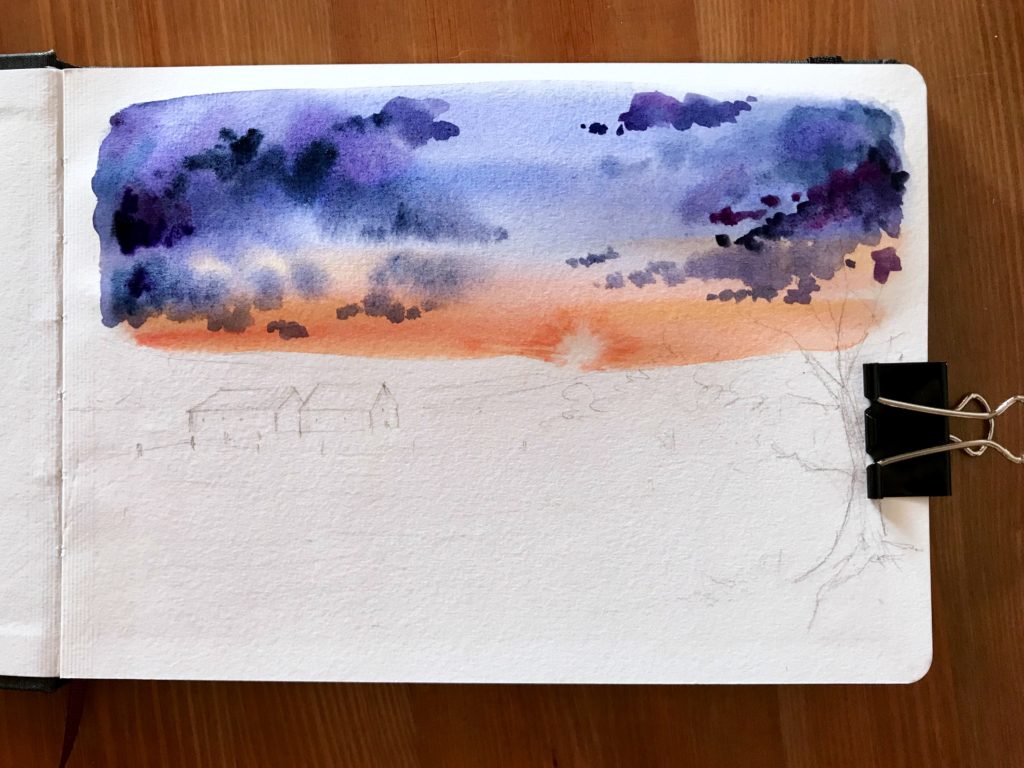
- Wet the sky area.
- Start to put Cad. Red Light and Golden in the lower part of the sky, and spread the color from bottom to top with a fairly large brush (i used a round n8).
- Viceversa, with a brush of the same size, enter Cobalt Blue and Ultramarine in the upper part of the painting and make movements from top to bottom until the two colors almost touch.
- With a clean and wet brush, remove the color from a small circular area above the mountains: this will be the setting sun.
- While the sky area is still wet, with Indigo, Violet and a little Lilac paint the clouds (this time i used a round brush n6).
3 – Lands
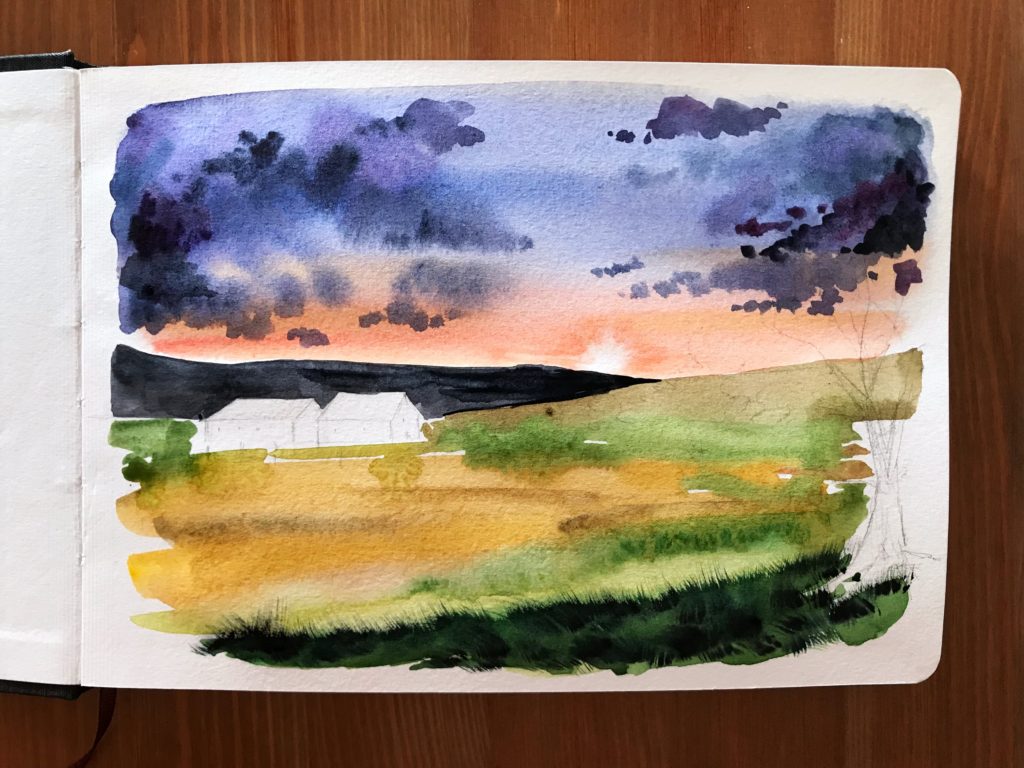
- Once the sky is dry, paint the mountains and the land.
- First paint the mountain in the distance with Indigo and then the nearest one with Umber and a little of Ch. Oxide, leaving a white space to paint the houses and one for the tree.
- Define the ground with the Quill brush with Ch. Oxide, Raw Sienna, Mars Brown e Olive Green.
- With Green we give more contrast to the foreground and we use the Filbert Comb brush to define the blades of grass.
4 – Houses and greenery
- Once it is dry, paint with the round brush n4 the lines on the field using Sepia and Burnt Sienna
- With a round brush n6 we paint the greenery: we use colors like yellow first and then we add darker greens as we go along.
- Let’s define the foreground even more with the Filbert brush by adding white strokes.
- For the tree in the foreground we use Mars Brown and then we add three-dimensionality with Sepia. Here some white lines will define some points of light
- With Sepia and the tip of a fine brush (n4) we paint the fence and finish it with white.
- For the walls of the houses I used a mix of Raw Sienna and Payne’s Gray for the shadows and pure Raw Sienna (but very diluted) for the lights. The roof was painted with English Red and some hints of Golden and Cad. Red Light.
- With the Black fineliner we define windows and some branches of the tree
- As a final, splatter with White and Mars Brown with a small brush.
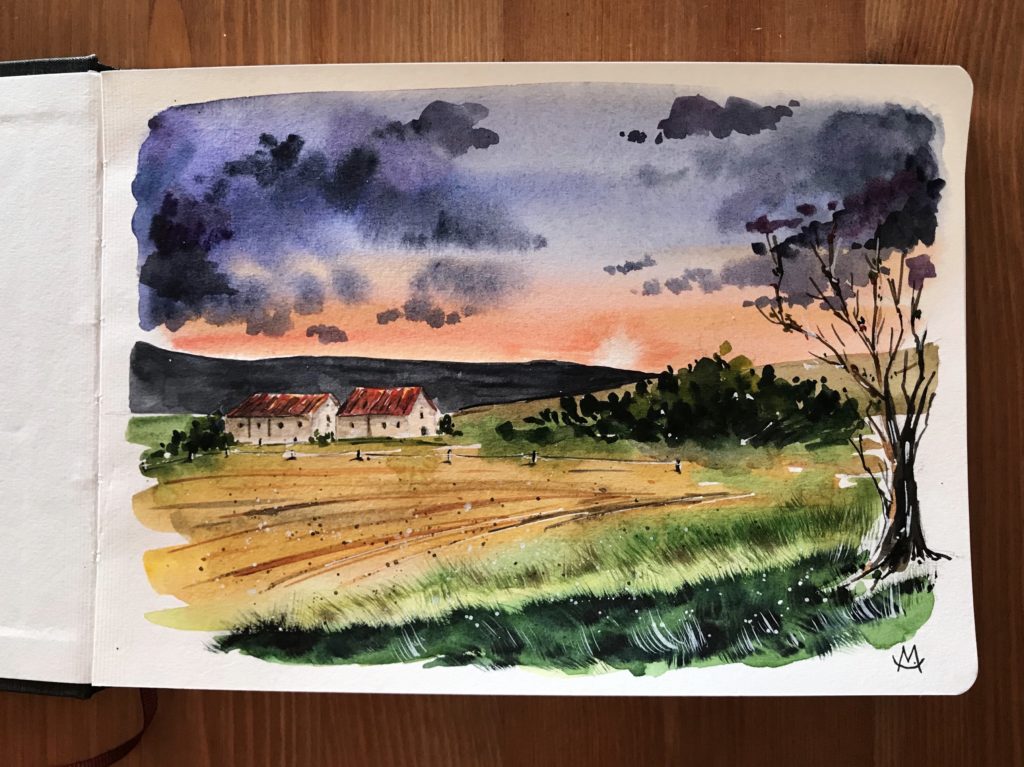
Final Result

- Sign the painting and you are done, congrats!
If you try this painting remember to tag me on Instagram (do it on the photo, not in the caption! This way i won’t miss it) with @chiaramazzetti.art and put the hashtag #chiaramazzettitutorial, i’d love to see what you create!
Happy painting!
Chiara
List of watercolor names (based on the brand i used for this painting: White Nights Nevskaya Palitra)

Kay
Beautiful artwork! Thanks for the tutorial. What type of sketchbook are you using?
Chiara Mazzetti
Thank you! I used the hahnemuhle watercolor sketchbook. Hope it helps! 🙂
Sue
Great tutorial, I had a go… but I don’t know how to add the photo !
Alicia Cordoba
Muchas gracias por el paso a paso. Muy claro ! Soy principiante en acuarelas..