In this tutorial I’ll draw a digital portrait and I’ll explain my process from the sketch to the final version!
Tools and Brushes
Now is the time to focus on the juicy part of this post: the tutorial! I divide my process in 4 simple steps for it to be easy for you to follow along. Each part below contains an image and a list with detailed process. With further ado, let’s draw together!!
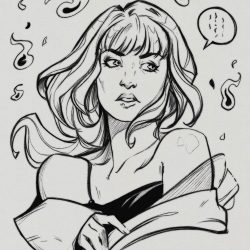
1 – Sketch
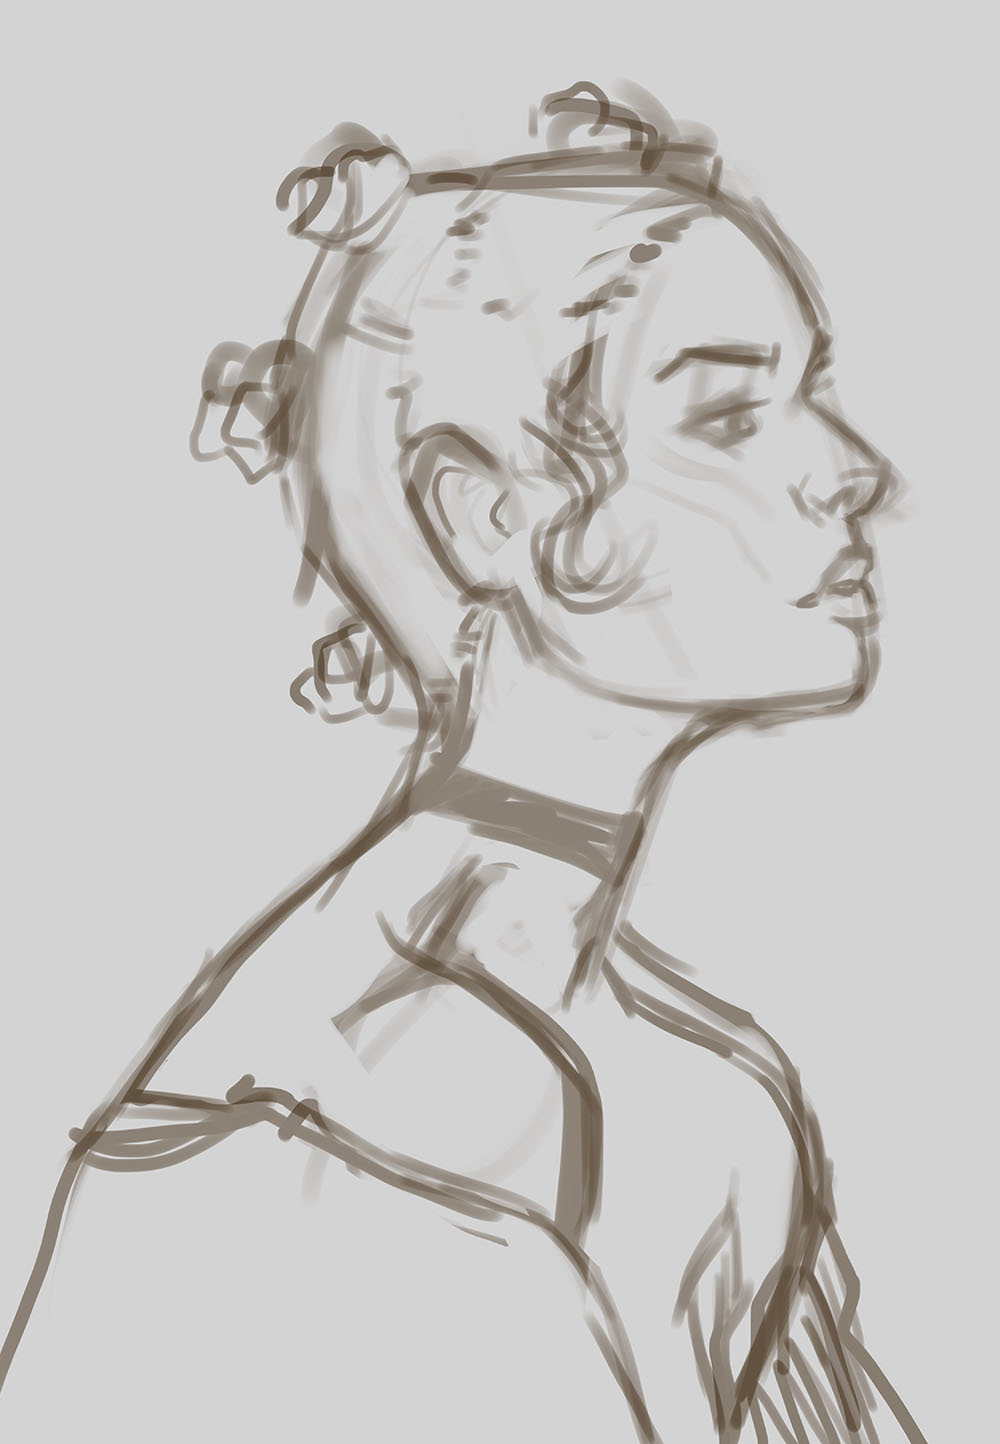
- decide the general look of the drawing (here I used a ref pic for the pose from Pinterest)
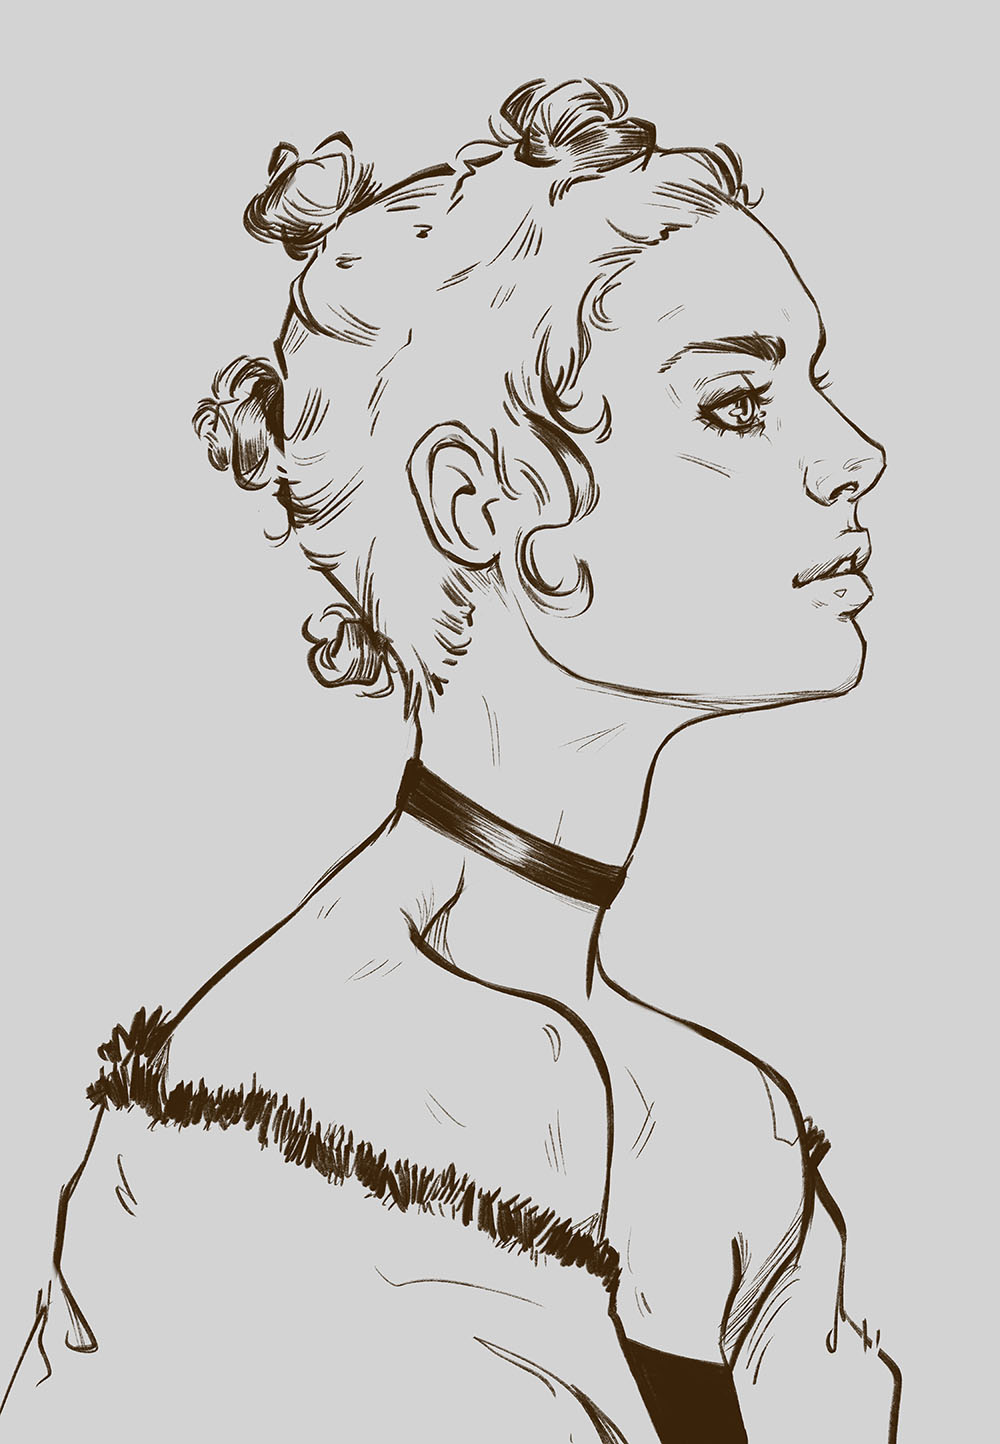
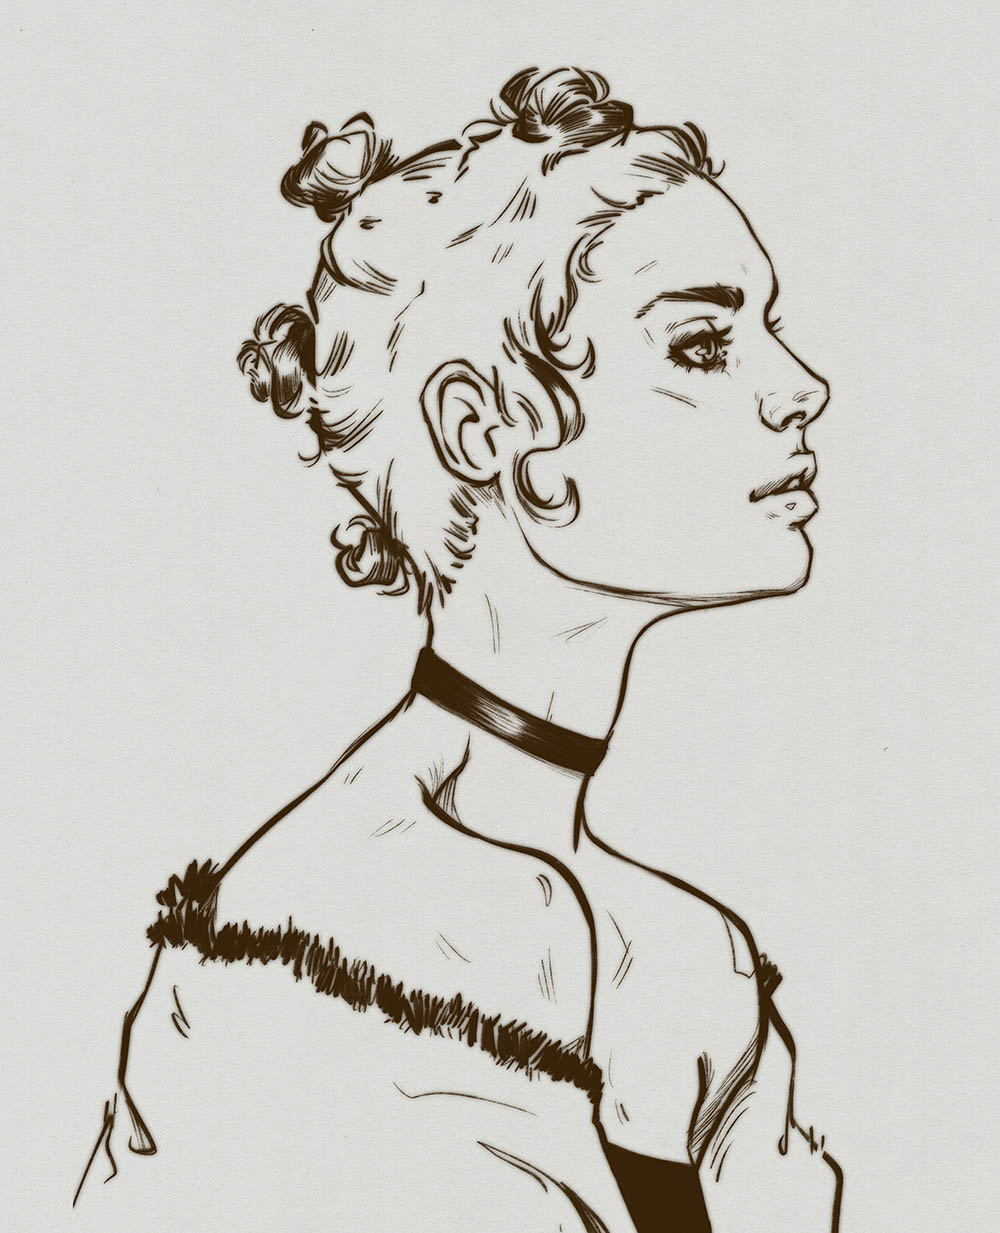
- place the main feature of the face and the knots, prompt of the day 4 of Inktober
2 – Refine
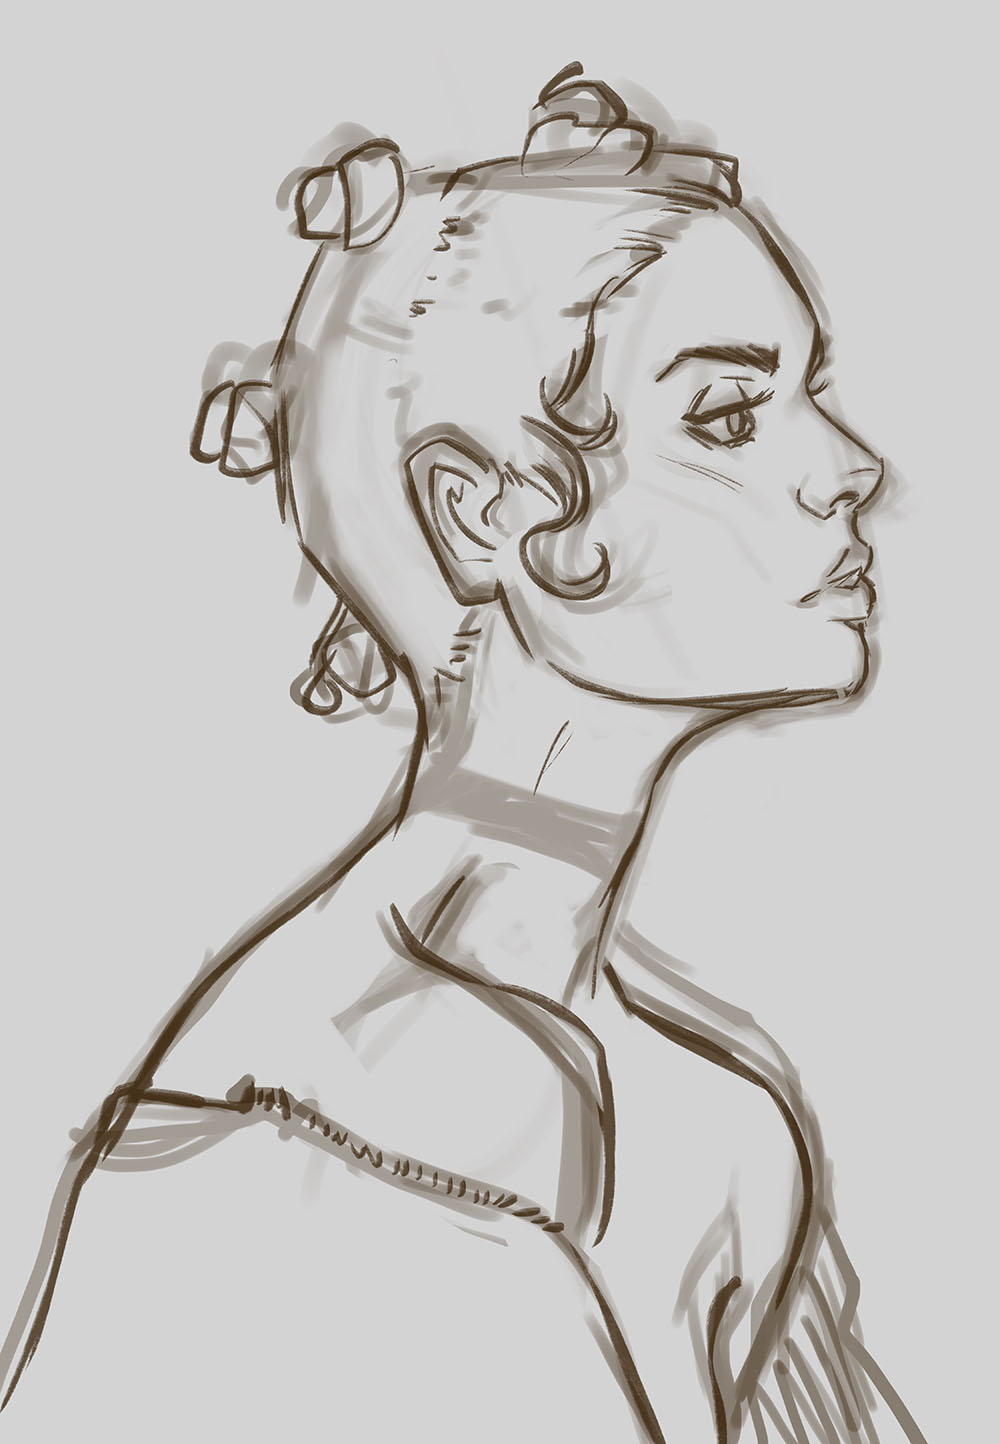
- decrease the opacity of the sketch layer
- Create another layer
- With the Shale brush refine the artwork, adding some details
- put your attention on the line quality: more pressure means bigger line
3 – Details
- In another layer repeat the process of step 2 until you are satisfied with your main lineworks
- add details with brushmarks (on hair, face, body ecc..)
- Here I focused my attention on the knots on her hair with more and darker strands
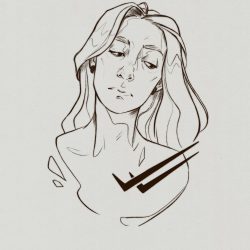
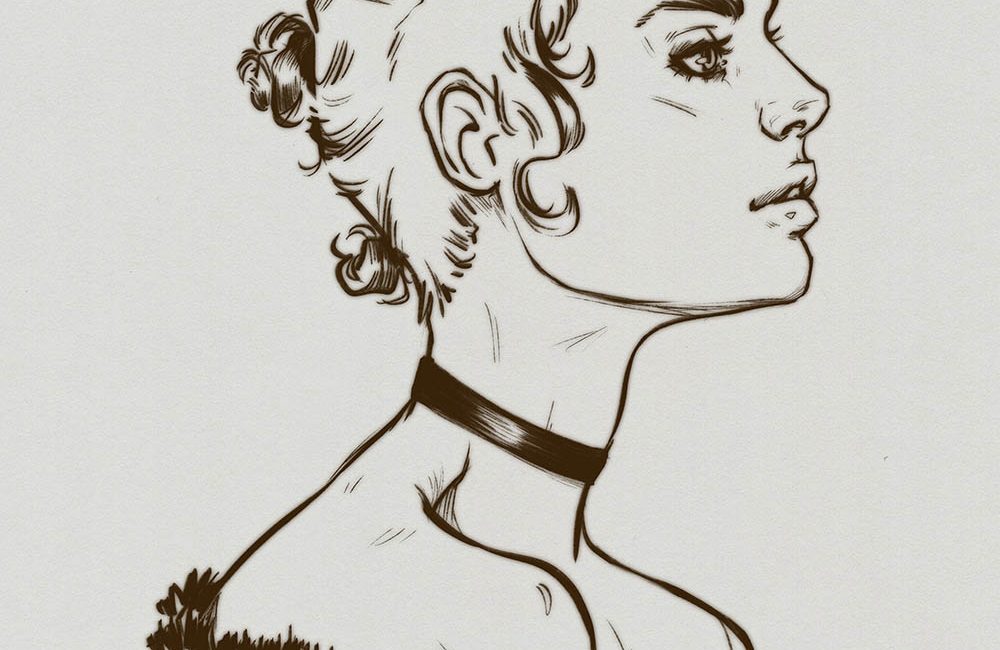
4 – Final
To create the “silk” effect on your drawing:
- duplicate the artwork
- go to Adjustments, Gaussian Blur and set it around 6%
- done!
Finally I added one more layer with a paper texture on Multiply, to give an extra touch to it 🙂
If you follow along my tutorial please take a picture of it and, post it on social media!
Remember to tag me on Instagram (do it on the photo, not in the caption! This way I won’t miss it) with @chiaramazzetti.art and put the hashtag #chiaramazzettitutorial.
I’d love to see what you create!