


Another week of Inktober, another step by step tutorial! Featuring the prompt “tick”, one of my favorites.
Tools and Brushes
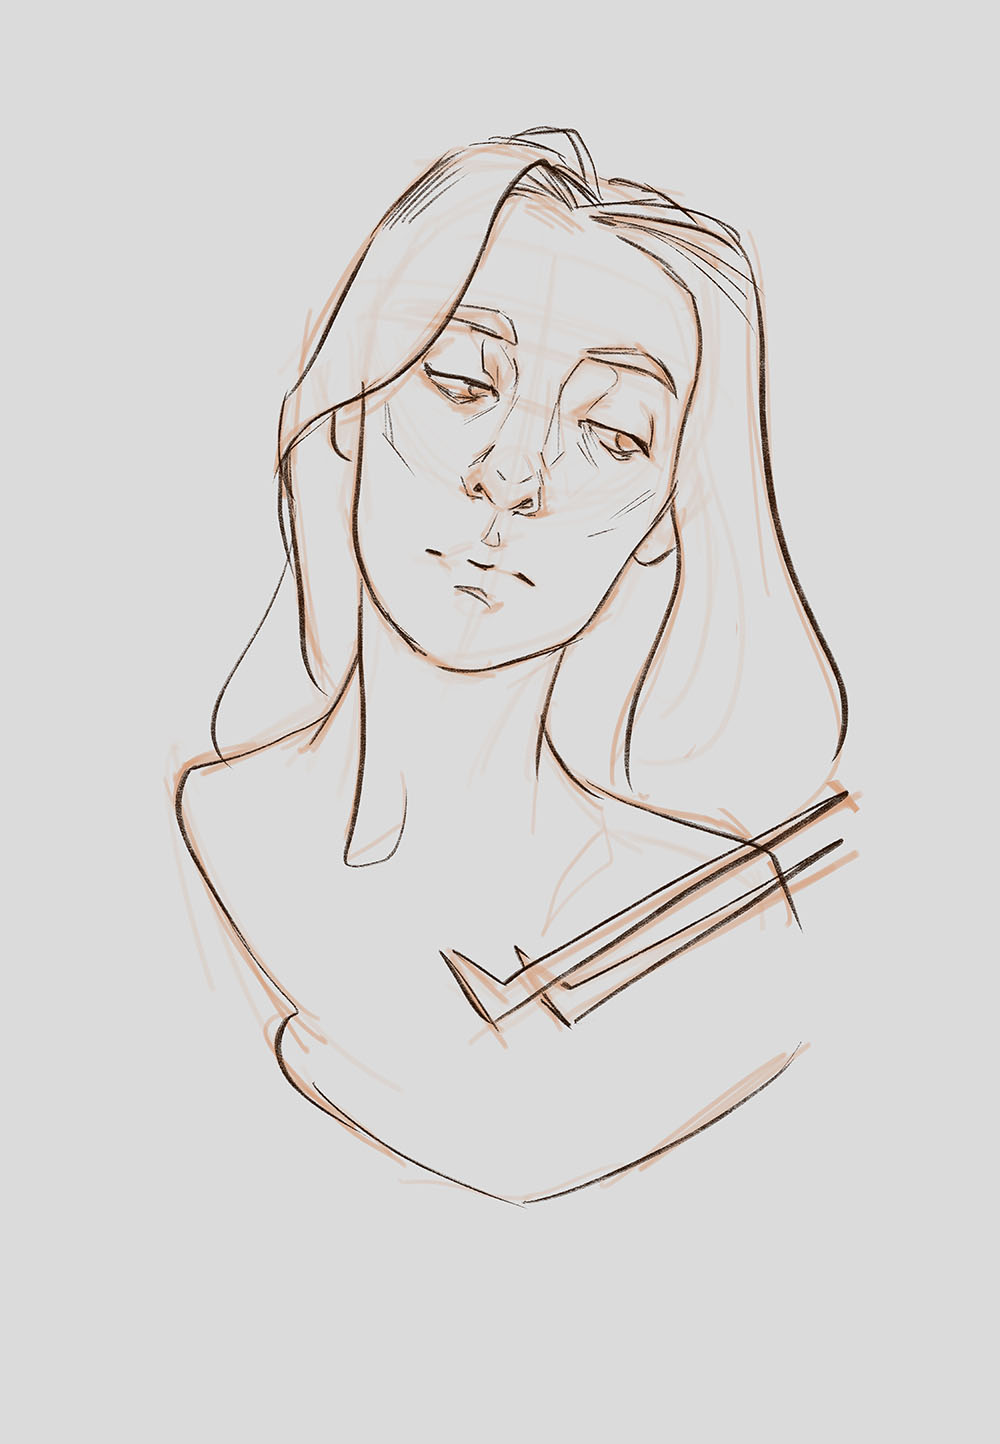
1 – Rough sketch
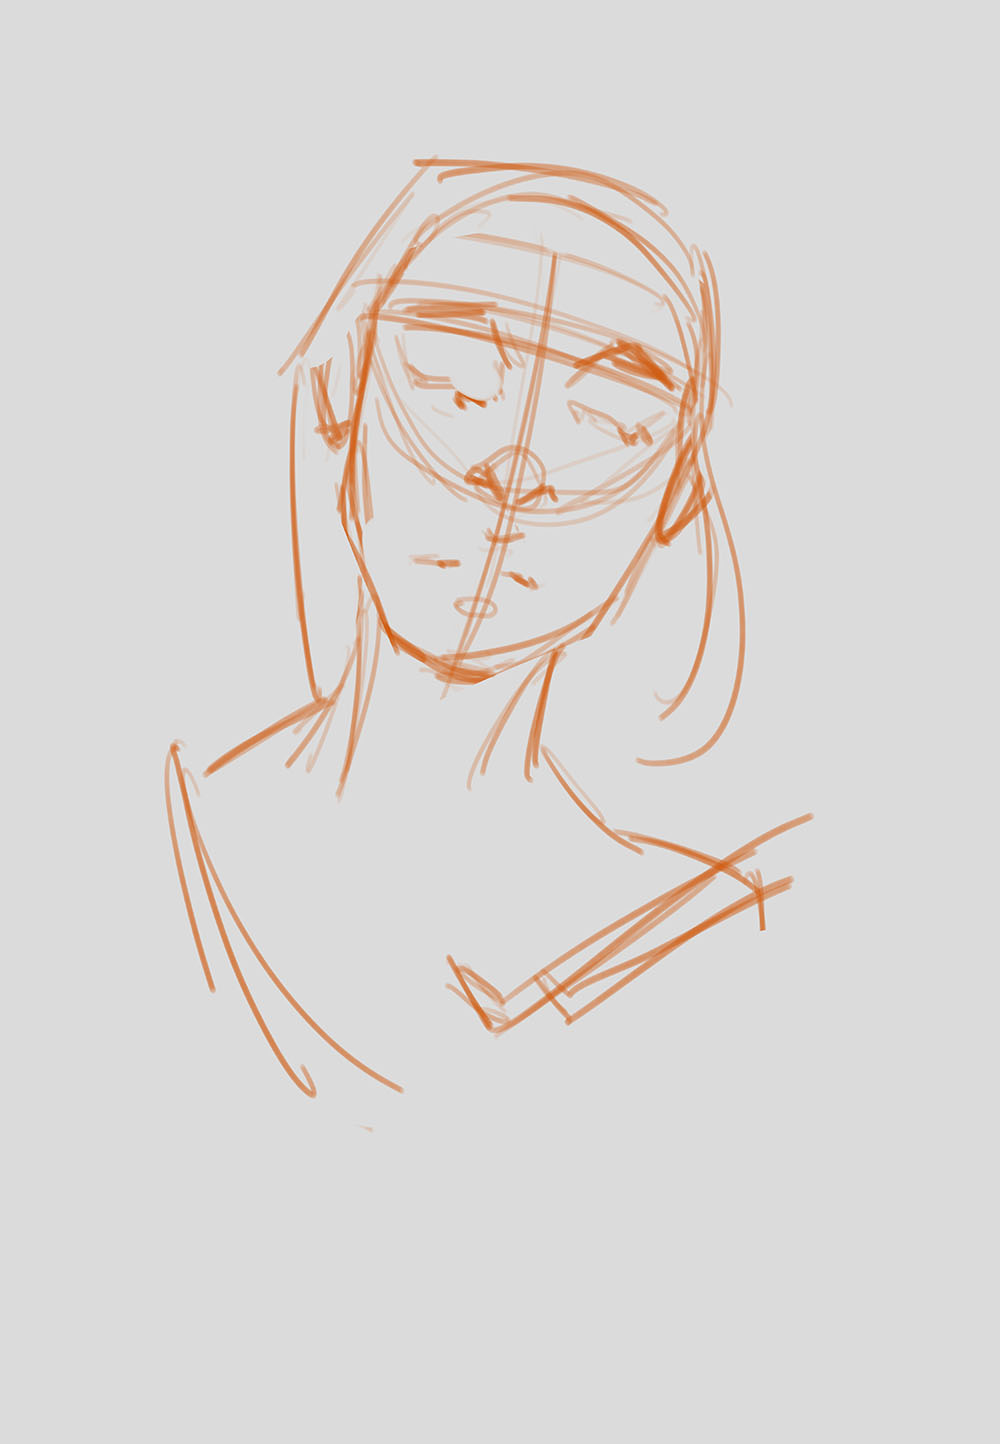
- I took a photo of myself to get the right pose. Veeery quickly establish the main lines.
- I made the 2 ticks in the bottom of the picture, to resemble when you read a message in any messaging app.
2 – Refine
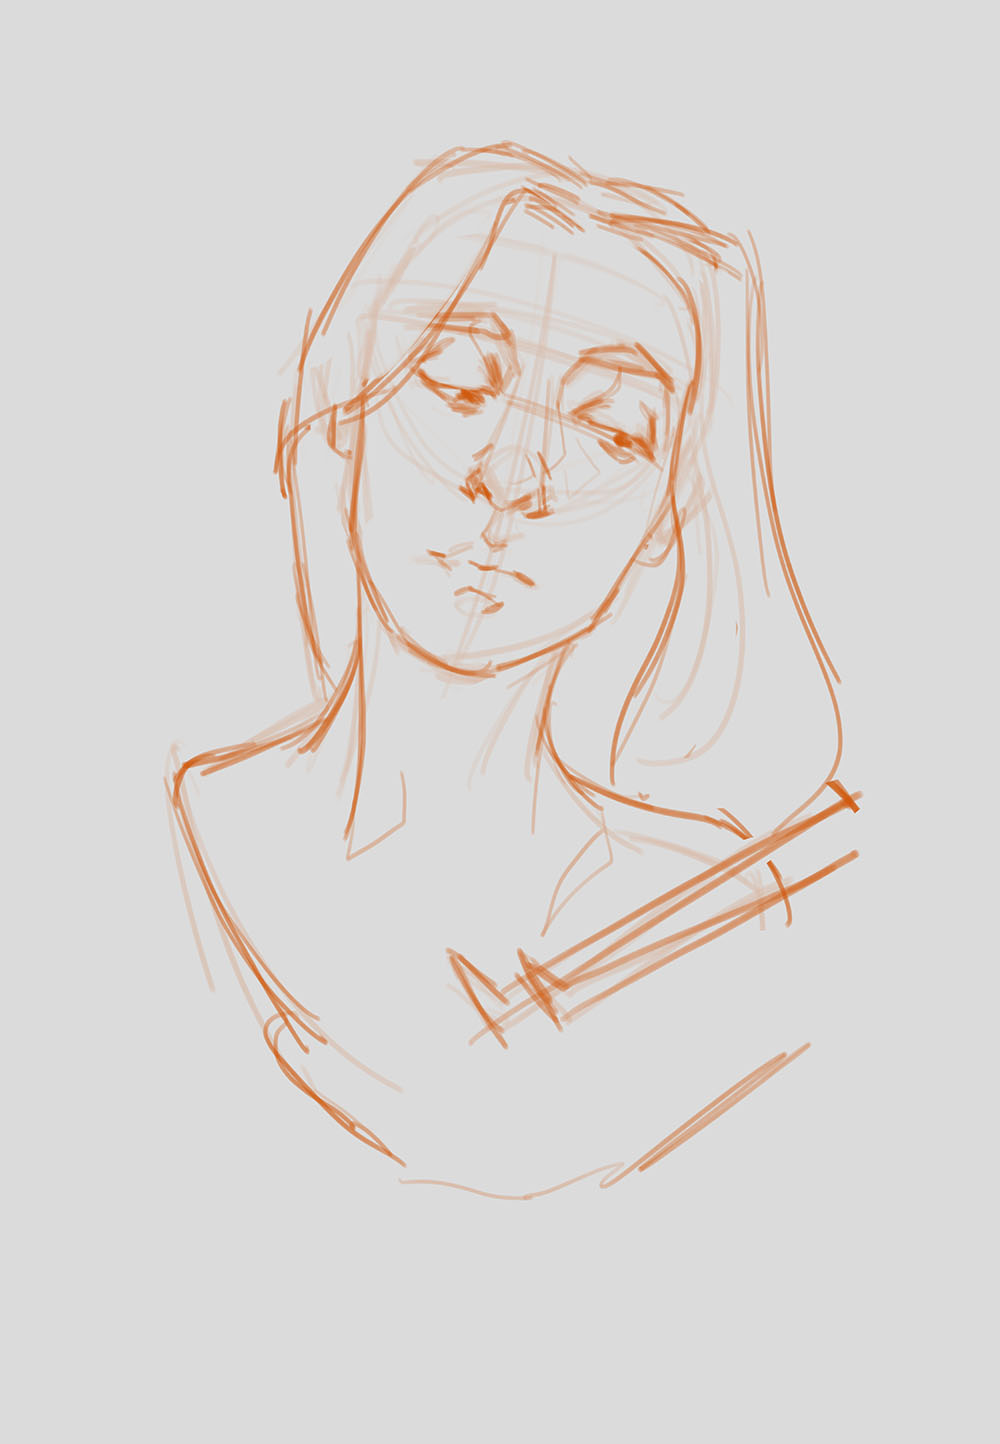
- decrease the opacity of the sketch layer.
- Create another layer on top.
- Refine the previous lines and give form to the face.
- Give more volume to the figure.
3 – Details
- Use the Chalk Brush and start to draw the main lines in another layer.
- Pay attention at the pressure you put on your pencil.
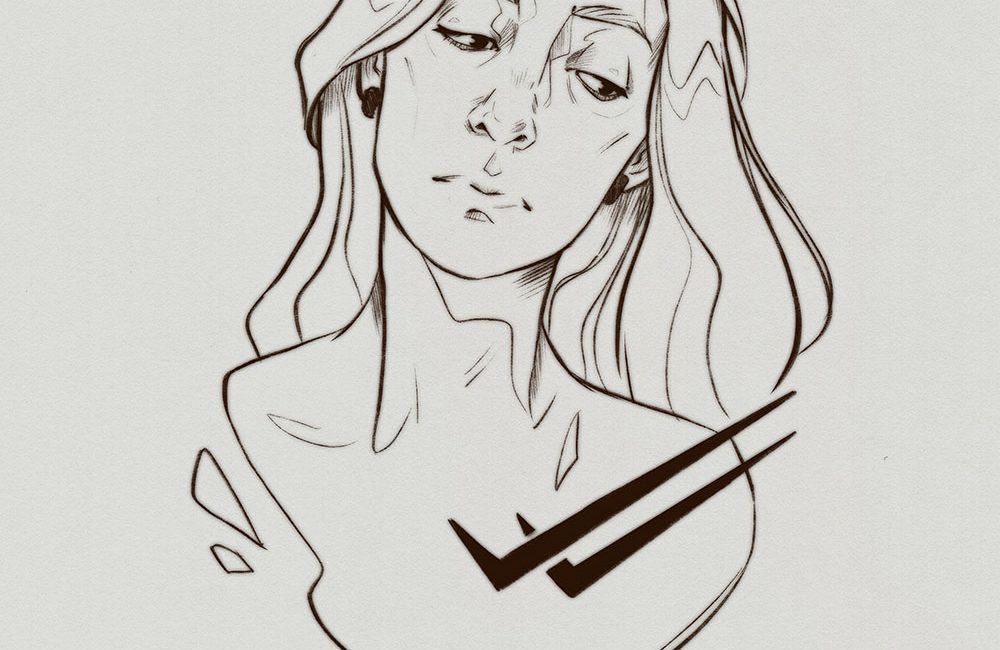
4 – Final

- Add fine lines on the hair and the feature of the face.
- Darken the ticks to draw the attention.
- Create the “silk effect” like I showed you in the previous tutorial.
Finally I added one more layer with a paper texture on Multiply.
If you follow along my tutorial please take a picture of it and, post it on social media!
Remember to tag me on Instagram (do it on the photo, not in the caption! This way I won’t miss it) with @chiaramazzetti.art and put the hashtag #chiaramazzettitutorial.
I’d love to see what you create!