


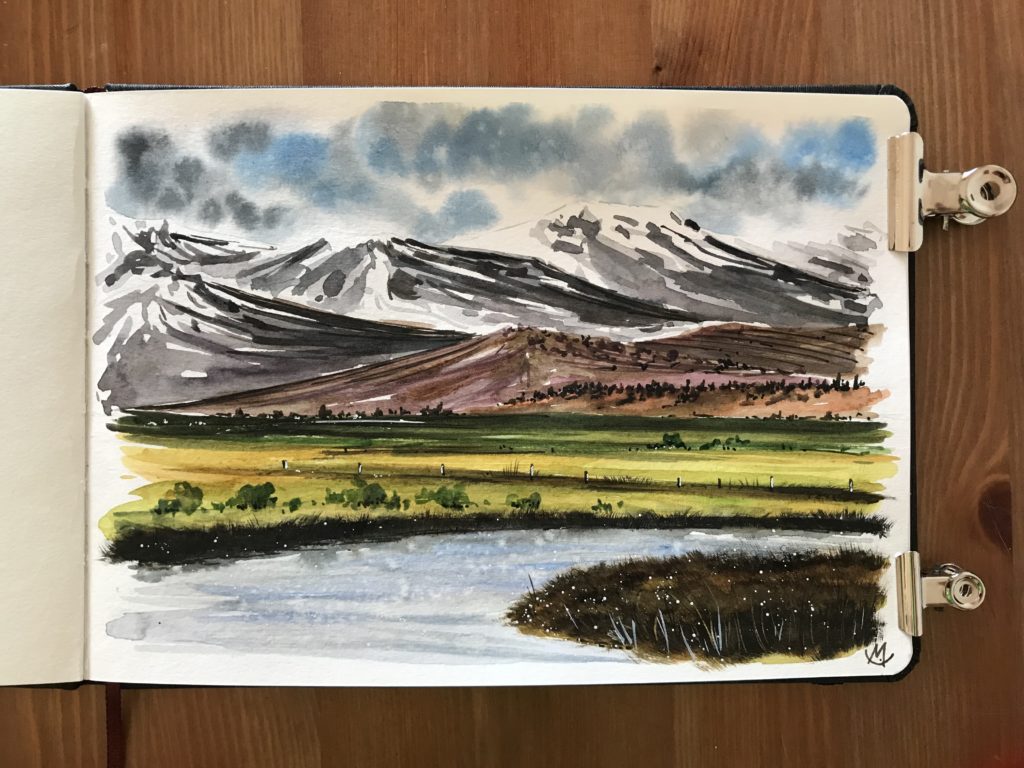
Mountains, hills and a river in gloomy day of September.. why not to paint them? So, grab yours watercolors and brushes and let’s dive into this scenery!
Supplies
1 – Sketch
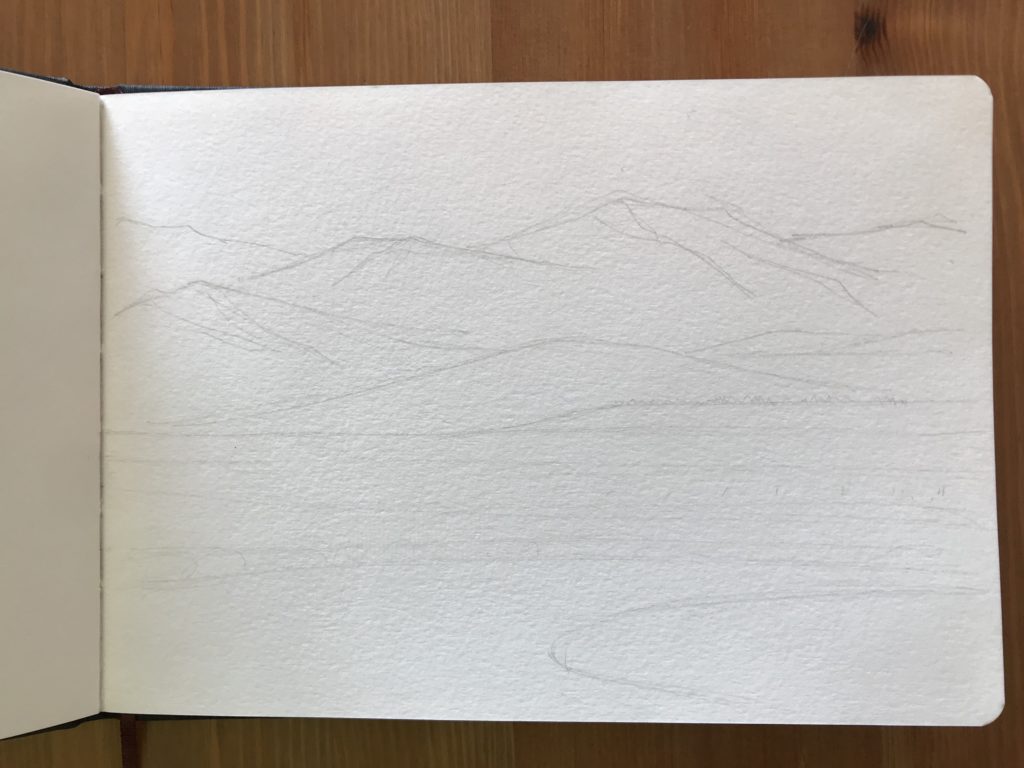
- On your sketchbook (it’s ok to use watercolor paper sheets) draw some light lines with the pencil to define mountains, hills, the river and main lines of the ground.
2 – Plumbeous Sky

- Put a clip on the side of the sketchbook to prevent bucking.
- Wet only the sky area.
- Take the round brush number 8 and start to put spots of the lighter blue ( Azure ) avoiding some areas to save white spaces.
- Repeat the action but this time apply spots of Payne’s Gray.
- Now with a small brush number 4 splatter some clear water in order to create small dots on the cumulonimbus.
3 – Foreground
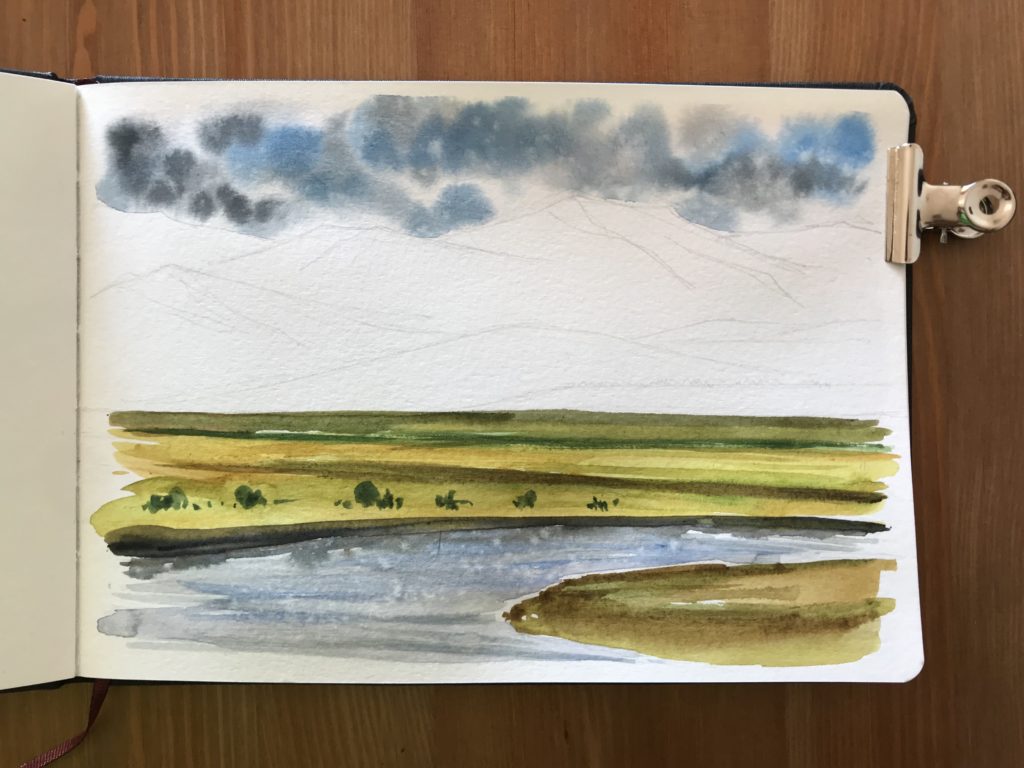
- Next step, the foreground: take the quill brush and define the ground with Indian Yellow, Indian Gold and Ch. Oxide.
- Put darker lines with more pigmented brushstrokes of Sap Green and Sepia and draw some greenery.
- Define the bank of the river with Payne’s Gray.
- Now the river: mix Cobalt with Raw Sienna to have a nice grayish blue and start to put it in the river area with the brush number 8.
- With the same mix, but this time with more concentration of Cobalt, draw some lines to create movement on the water.
- While the river area is still wet, release Payne’s Gray under the border of the ground in order to create the reflection of the bank on the water.
- To finish it, splatter clear water the same way we did on chapter 2.
4 – Hills and Mountains
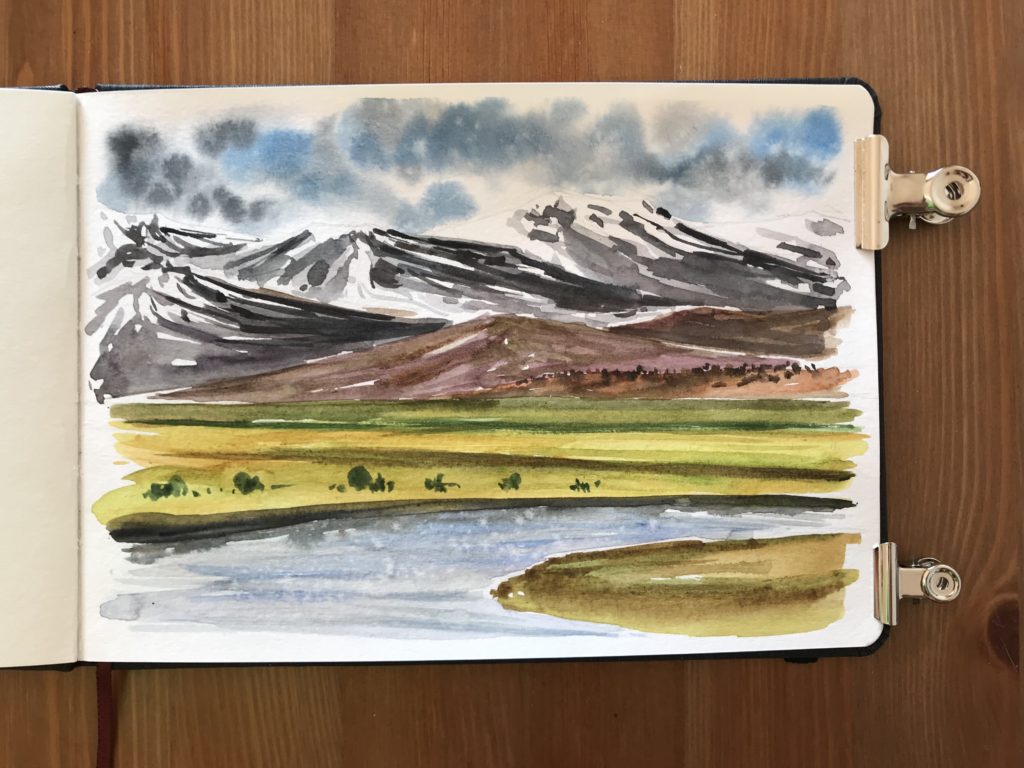
- With brush number 8 take Red Ochre and Sepia to paint the first short hill and draw dark spots on it with Sepia.
- Next with Lilac and Umber paint the hills on the back with the point of the brush.
- To paint the mountains in the background prepare various values of Payne’s Gray and start with the lighter one (this means more water and less pigment) to then move on to the darker one (which is more pigment and less water).
5 – Details
- Intensify the darker part of mountains and hills with the fountain pen, adding dark spots and lines.
- Take the Green and paint distant greenery and some in the middle ground with the small brush number 4.
- For the foreground, take the Filbert Comb brush and with Mars Brown, Sepia and Paynes Gray paint the grass near the bank of the river.
- When all the painting is dry, splatter white gouache on the foreground with the small brush but remember to cover other parts with paper towel or a sheet of paper: we don’t want white spots all around the painting!
- Optional: draw with the fountain pen the fence and next add highlights on it with white.
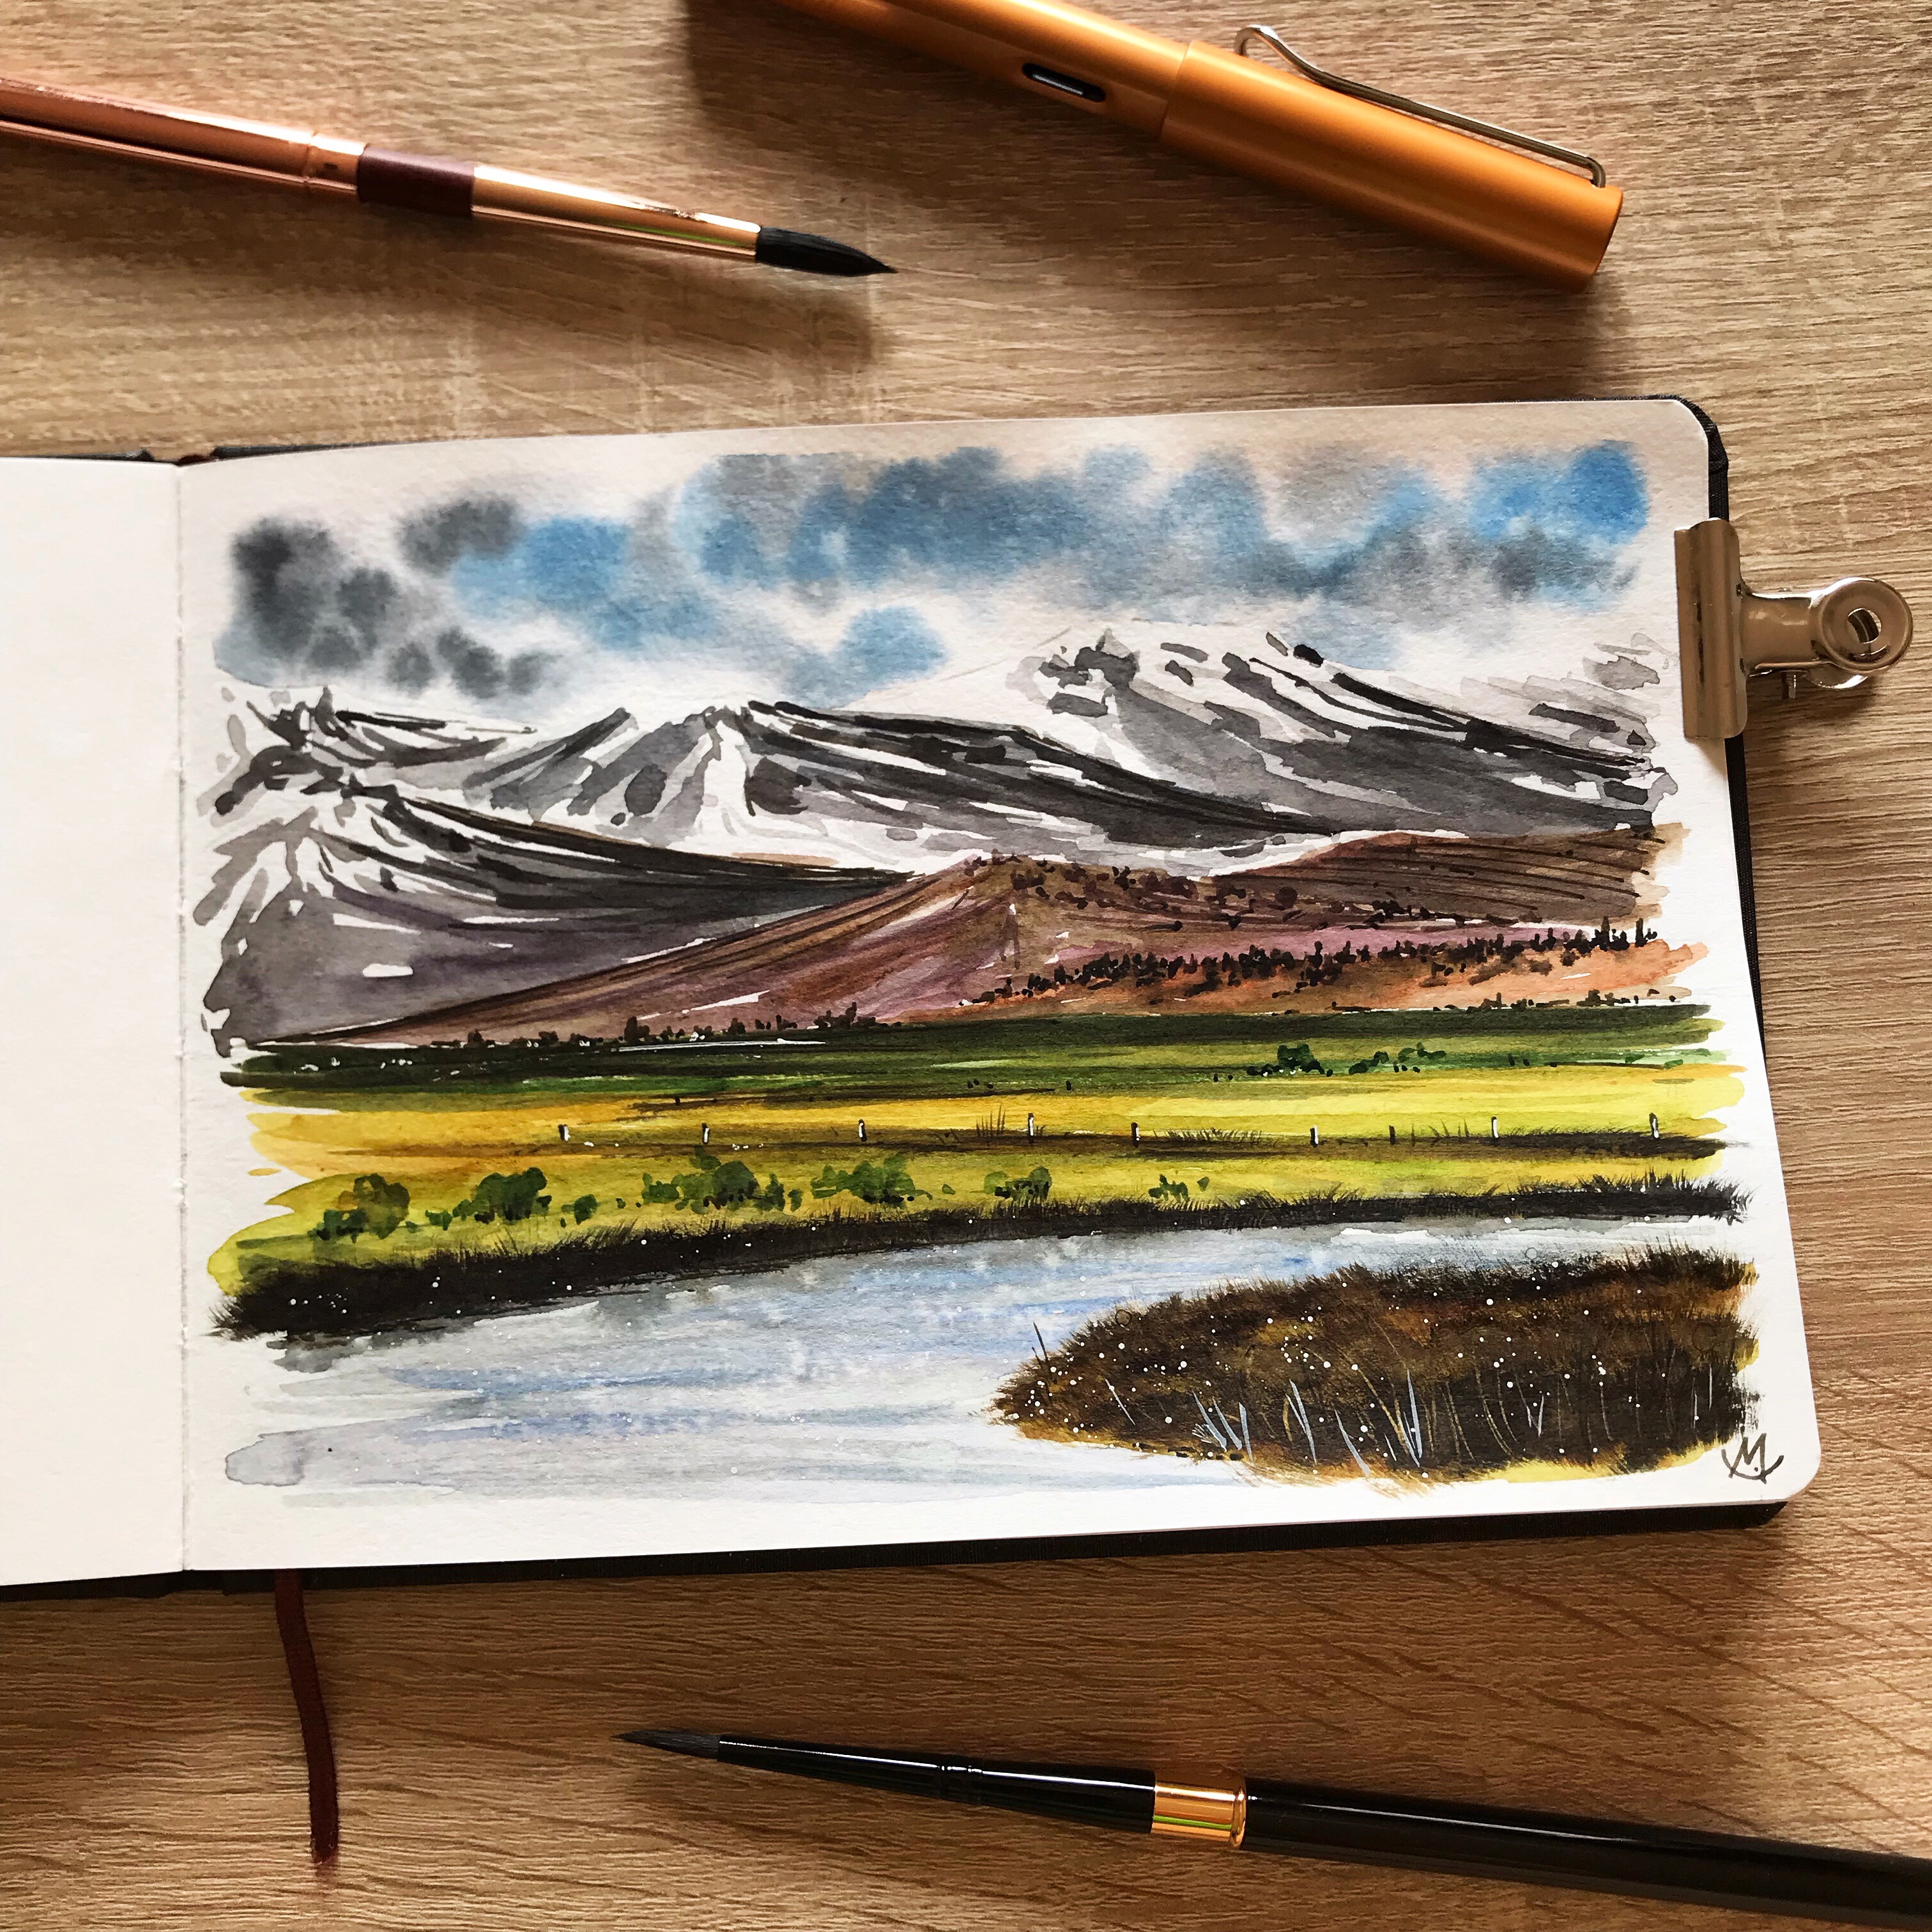
Final Result

- Now all you have to do is sign the painting and enjoy the view 🙂
If you try this painting remember to tag me on Instagram (do it on the photo, not in the caption! This way i won’t miss it) with @chiaramazzetti.art and put the hashtag #chiaramazzettitutorial, i’d love to see what you create!
Happy painting!
Chiara
List of watercolor names (based on the brand i used for this painting: White Nights Nevskaya Palitra):
Chimnani Heena
It’s looks helpful thank you for sharing with us 🙏🤗❤