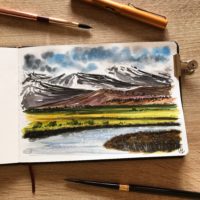


The summer is gone for a while by now but this will not stop us to paint seascapes!
Supplies
You will need:
1 – The Sketch

- Take the pencil and start to draw the main subject (the land with houses and greenery) and leave the other parts sketchy: we will define them with watercolors.
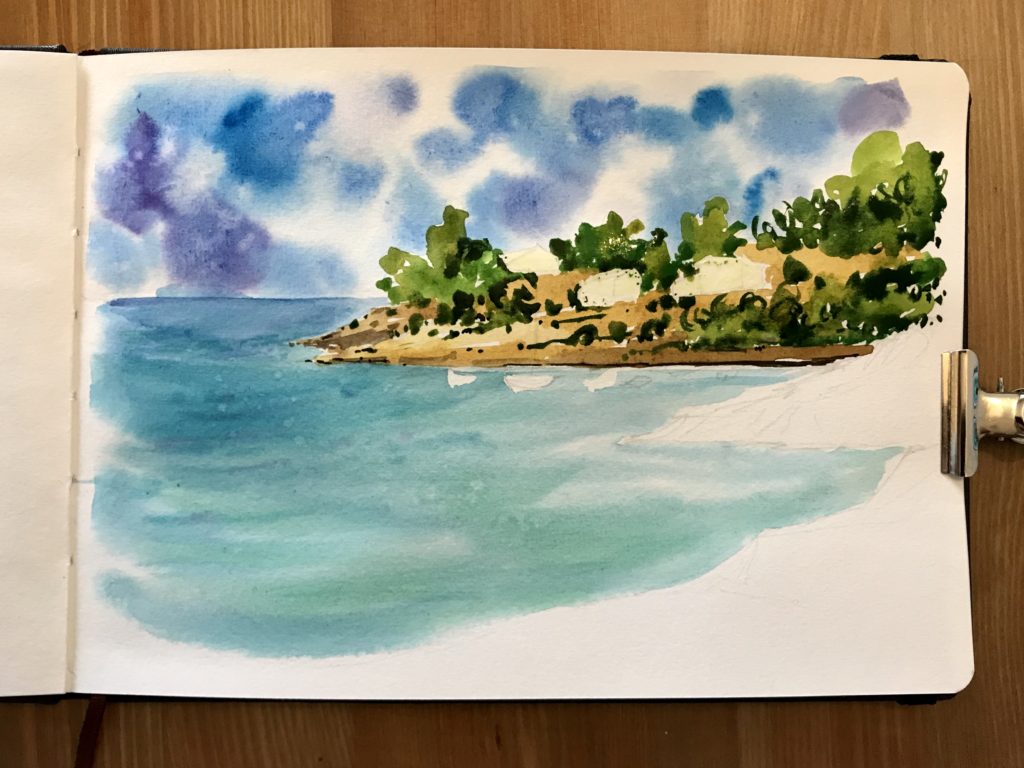
2 – Sky
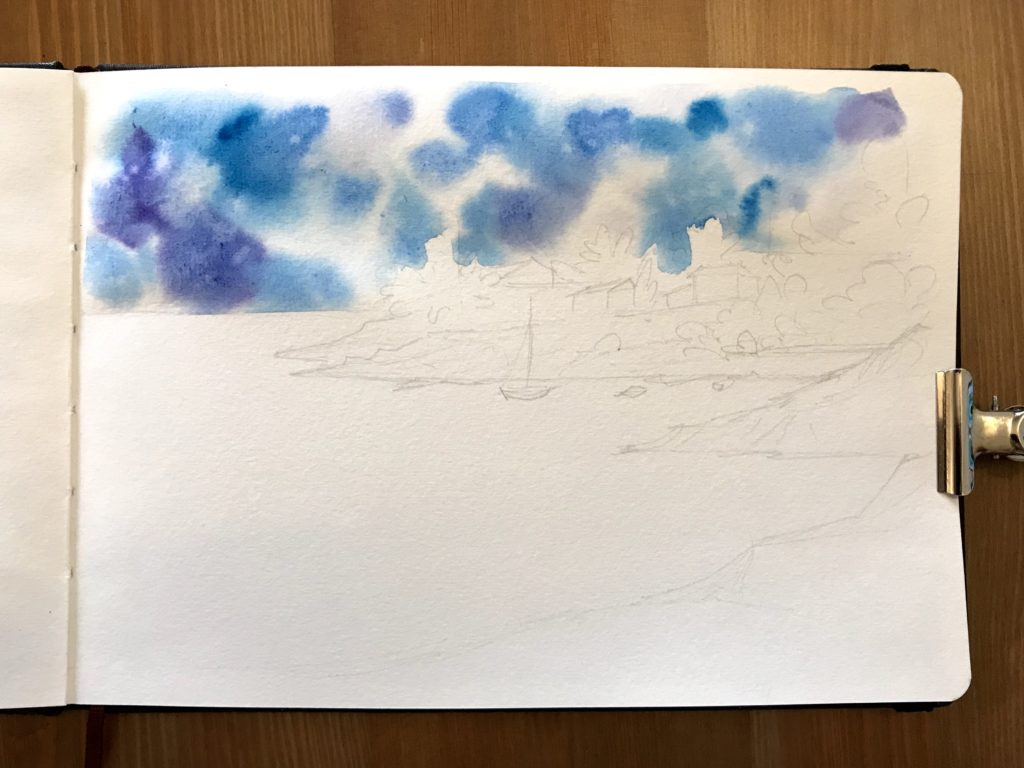
- Put a clip on the side of the sketchbook to prevent bucking.
- Wet the sky area avoiding the trees.
- Take the round brush number 8 and start to put spots of Bright Blue, Cobalt Blue and as last Violet to define dark parts.
- Remember to leave random white spaces for the clouds.
3 – Sea
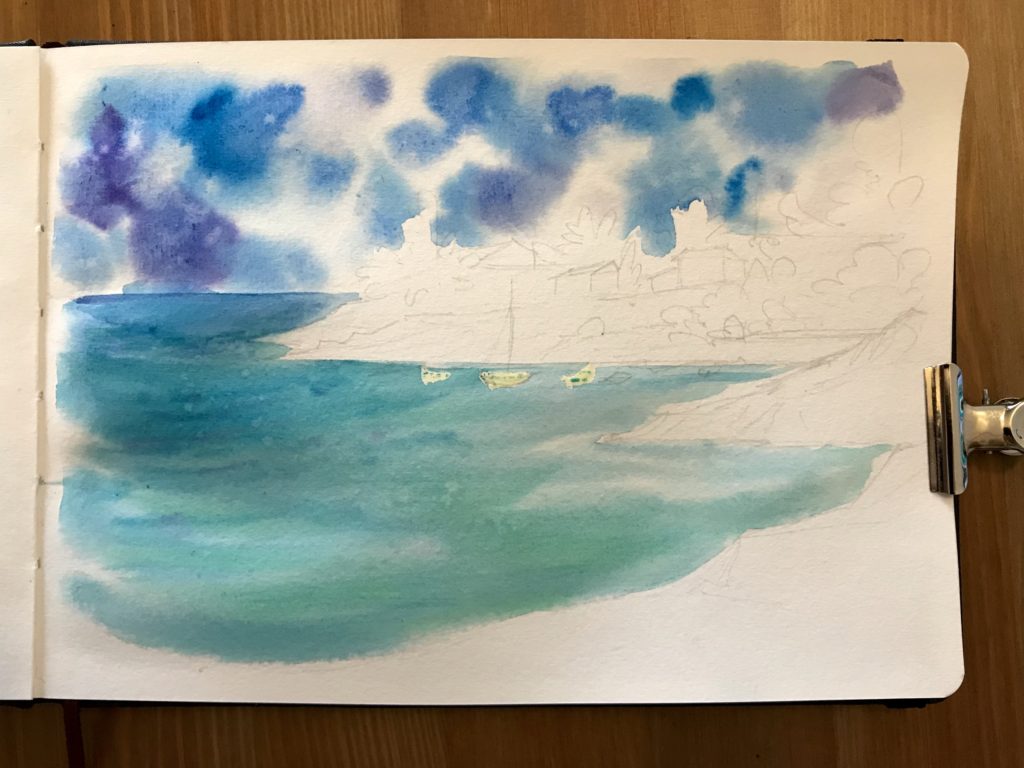
- At first, apply masking fluid on the boats area and wait until it is completely dry.
- Next, wet the area of the sea.
- Take your round brush number 12 and start to put stripes of Turquoise on the sea, and as you get near the land, put Emerald Green and very little Yellowish Green. The colors must combine smoothly.
- Apply stripes of Ultramarine near the horizon line, and mix it with the previous brush strokes of Turquoise. (the paper must still be wet)
- Splatter water with the brush number 4.
4 – Land
- Remove the masking fluid from the boats.
- Apply the masking fluid on the houses to protect the area.
- With your brush number 12 make a mix on your palette of
– Raw Sienna and a bit of Indian Yellow or just Raw Sienna
– Burnt Umber and a bit of Indian Gold or just Burnt Umber
use this mix to paint the soil. - Take some greens like Sap Green, Olive Green and Green to paint the greenery.
- For darker spots you can use Sepia or the fountain pen with waterproof ink.
5 – Foreground
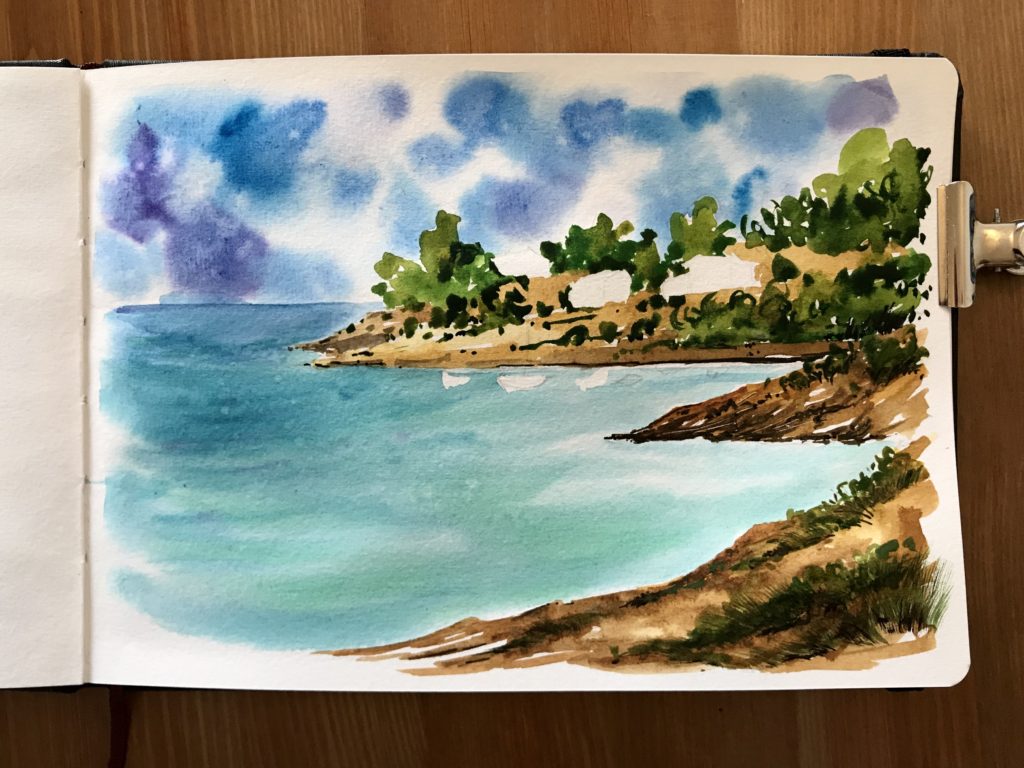
- Take Burnt Umber, Raw Sienna and Indian Gold to paint the foreground soil.
- Take the same greens seen on chapter 4 to draw some more detailed grass on the foreground ( here you can use the Filbert Comb brush ), you can add darker greens or directly the Sepia to this part.
- Intensify the darker part with the fountain pen, adding dark spots and lines.
- Remove the masking fluid from the houses when the paint is dry.
6 – Houses, boats and details
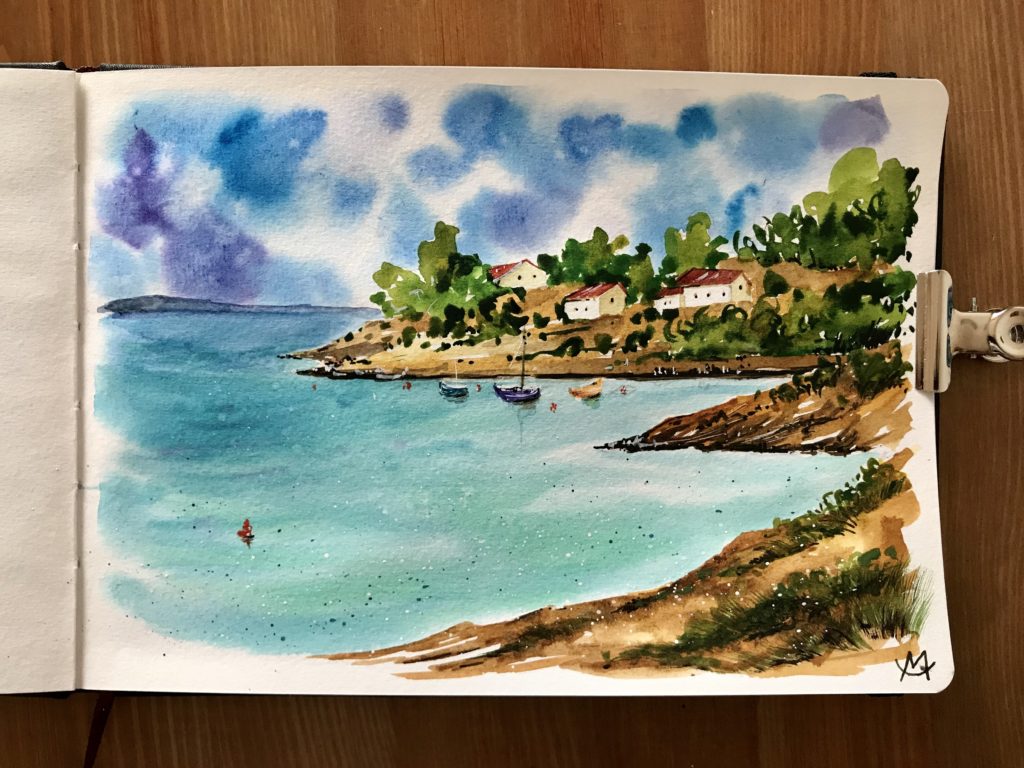
- Now the final details.
- Houses: take Red Ochre to paint the roofs, then use Indian Gold and Sepia for some shadows.
- Boats: for them i used Violet, Golden and Turquoise but it is up to you and your preferences.
- If you want you can add some boe with Red Ochre or another red.
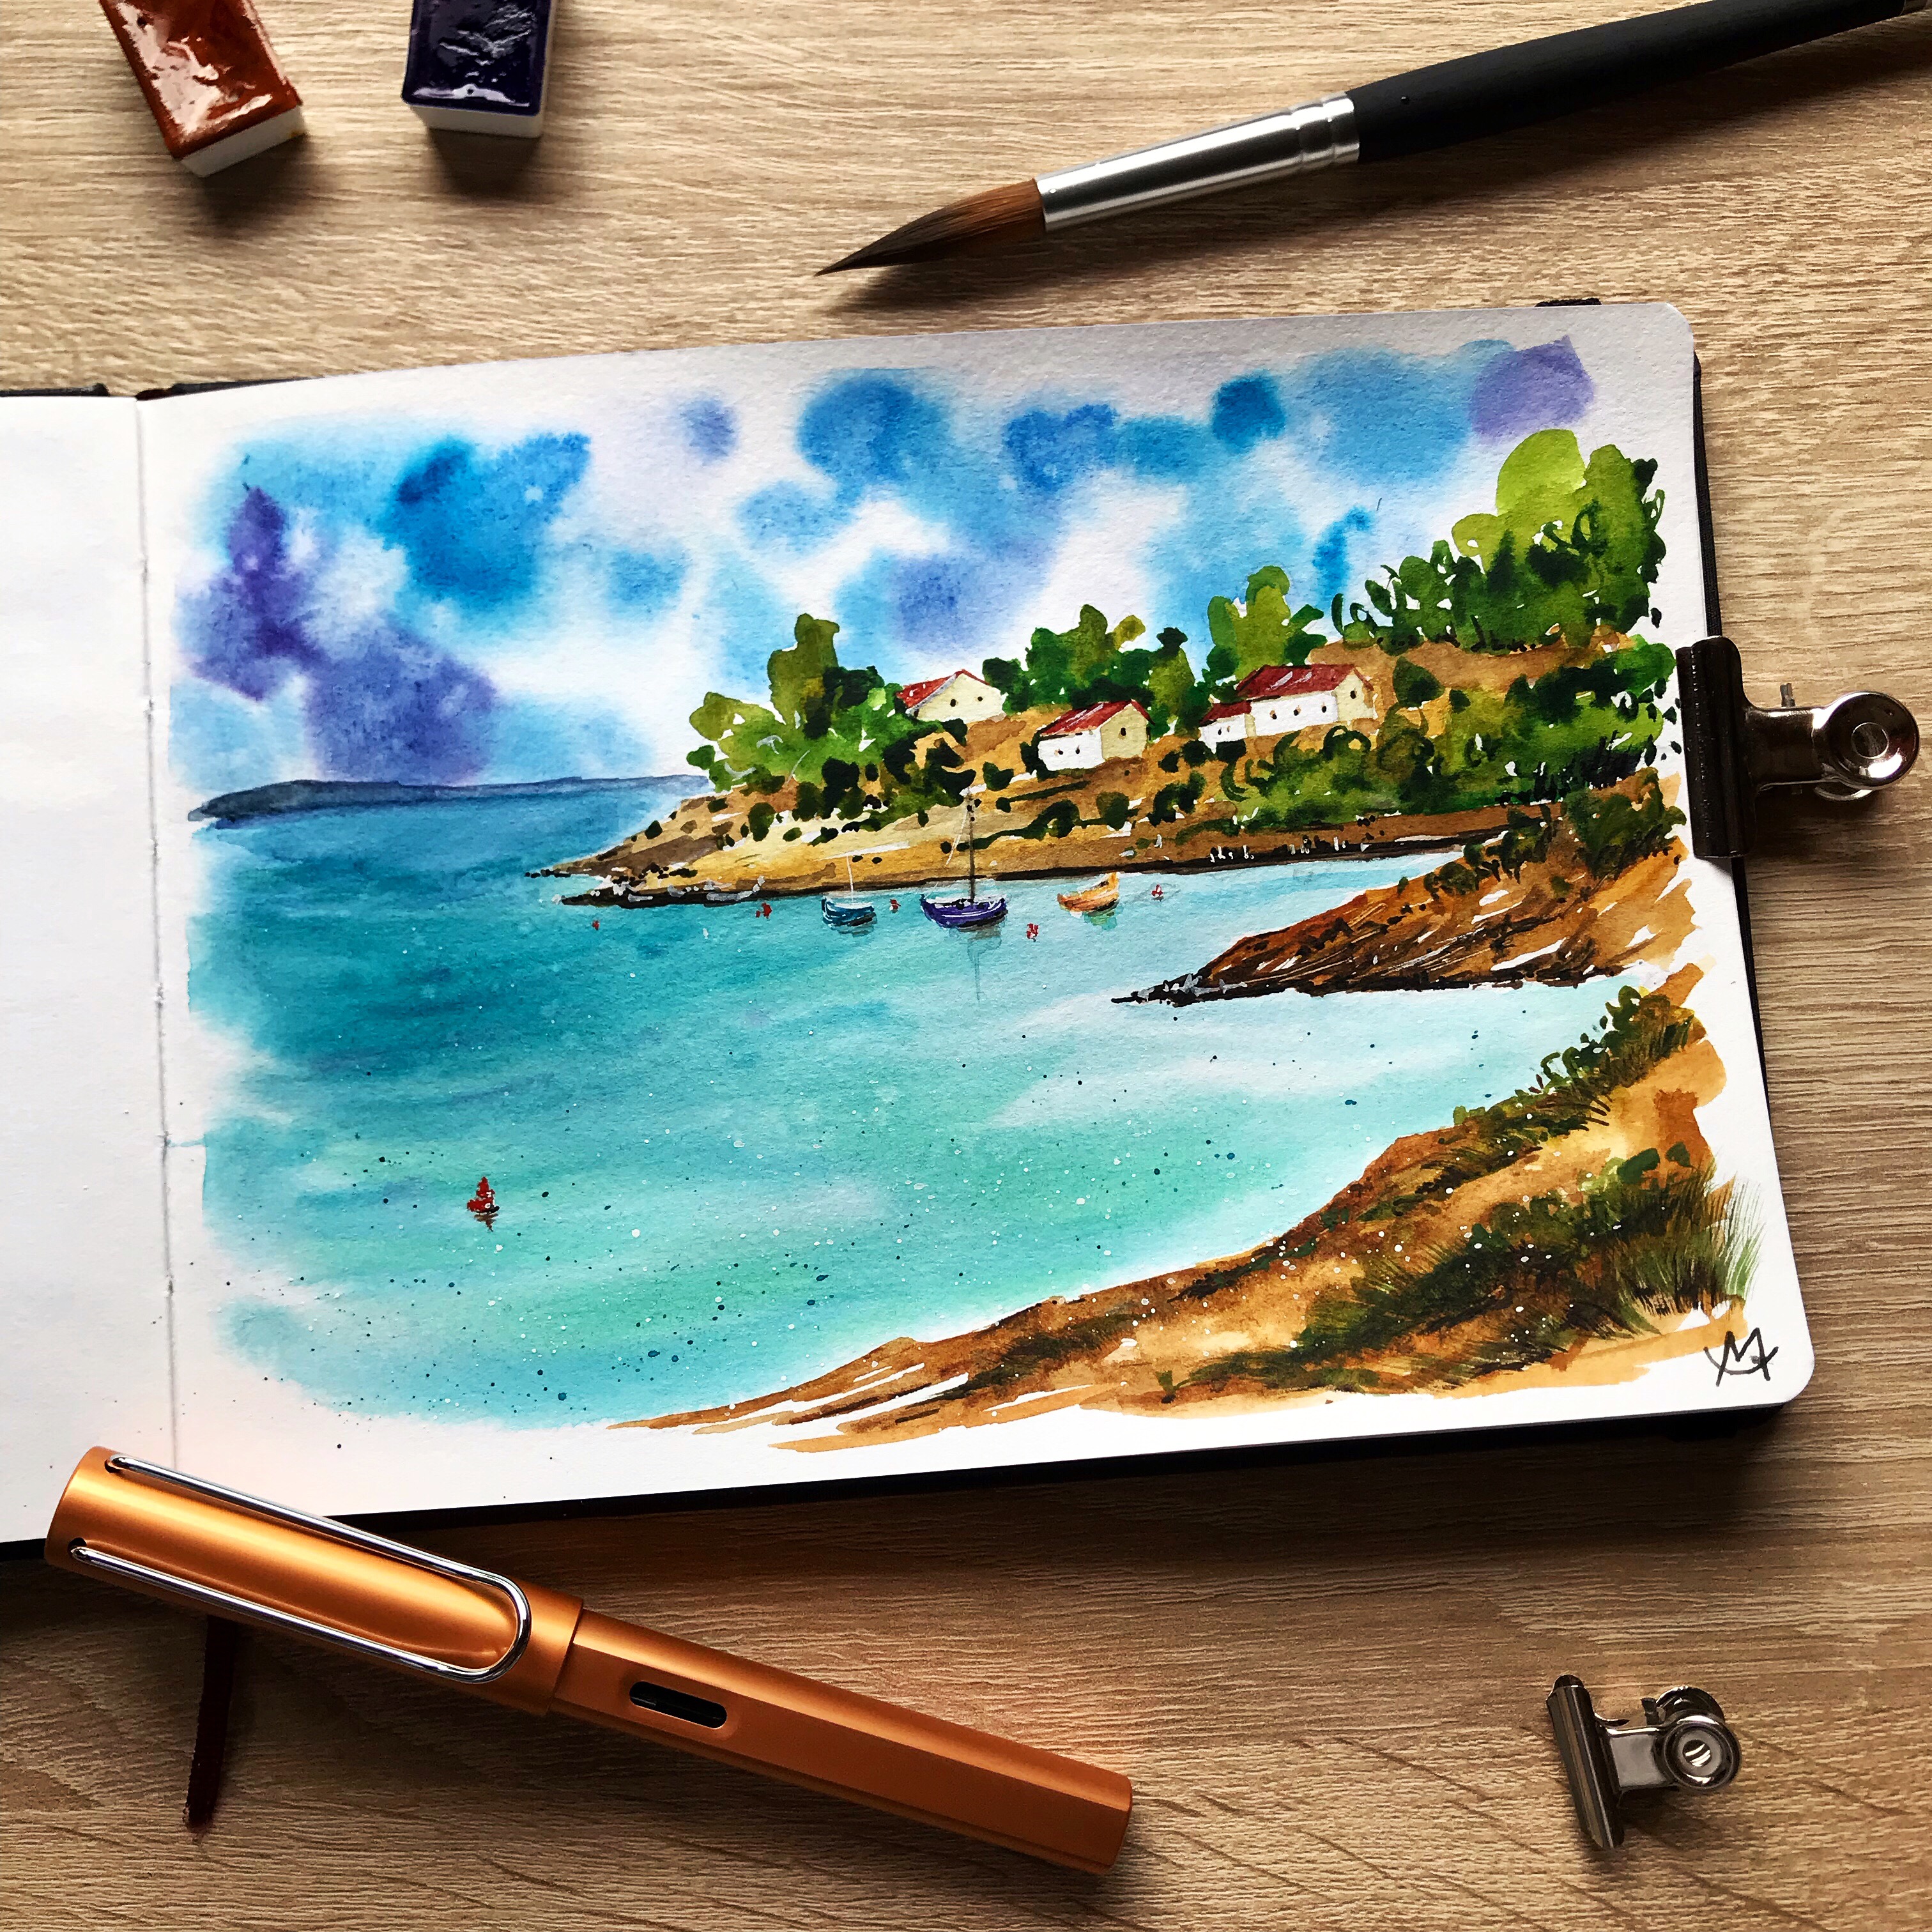
- To finish it, i splatter some white and dark blue and then i paint a distant island with Indigo.
Final Result
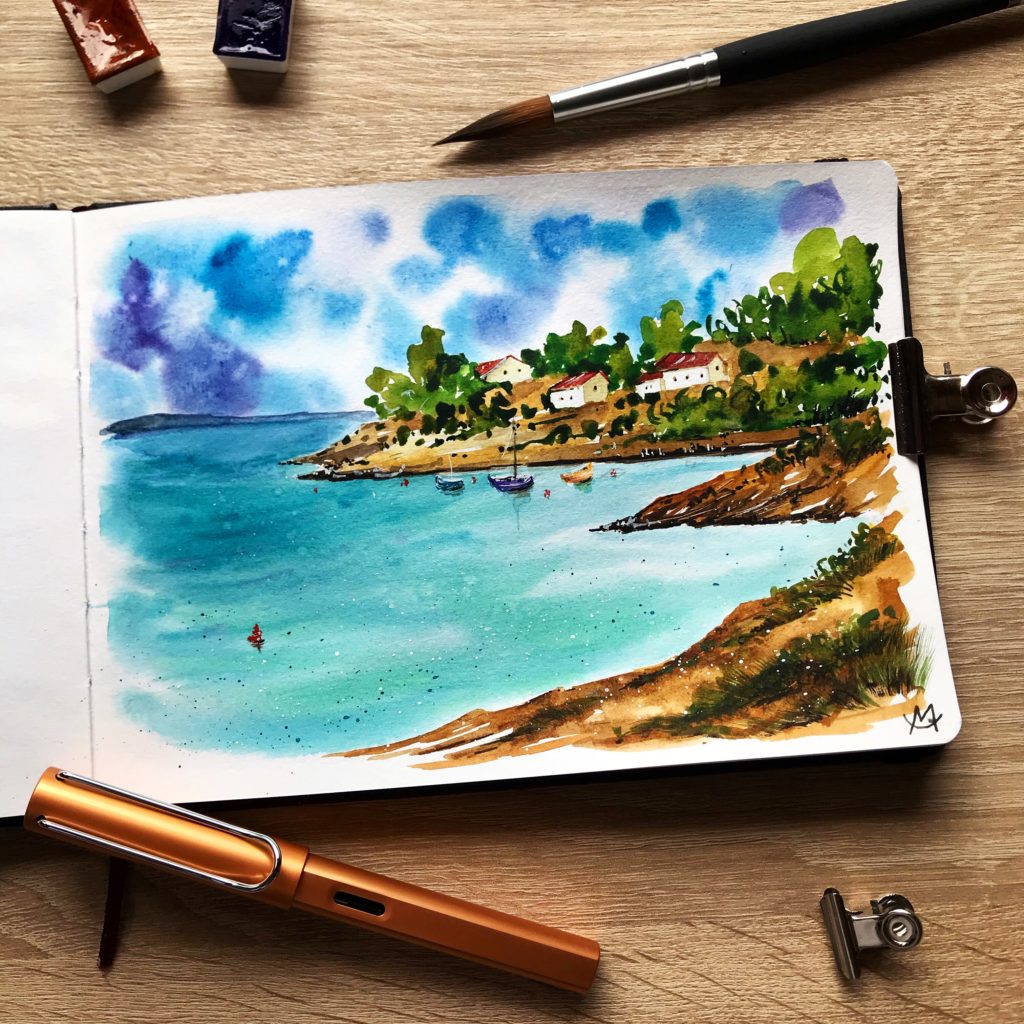
- As Always, sign the paint!
If you try this painting remember to tag me on Instagram (do it on the photo, not in the caption! This way i won’t miss it) with @chiaramazzetti.art and put the hashtag #chiaramazzettitutorial, i’d love to see what you create!
Happy painting!
Chiara
List of watercolor names (based on the brand i used for this painting: White Nights Nevskaya Palitra):