


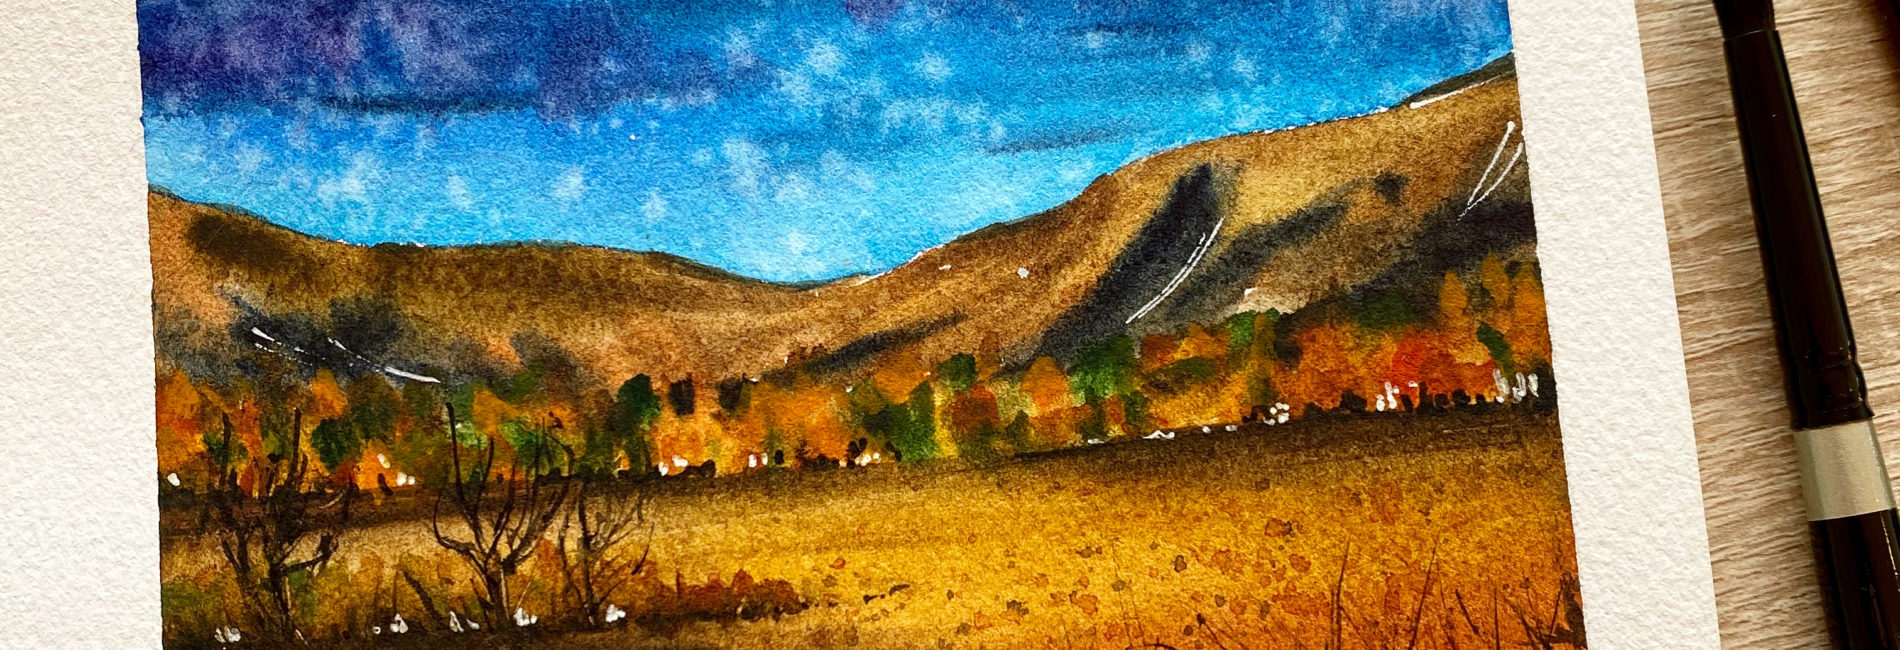
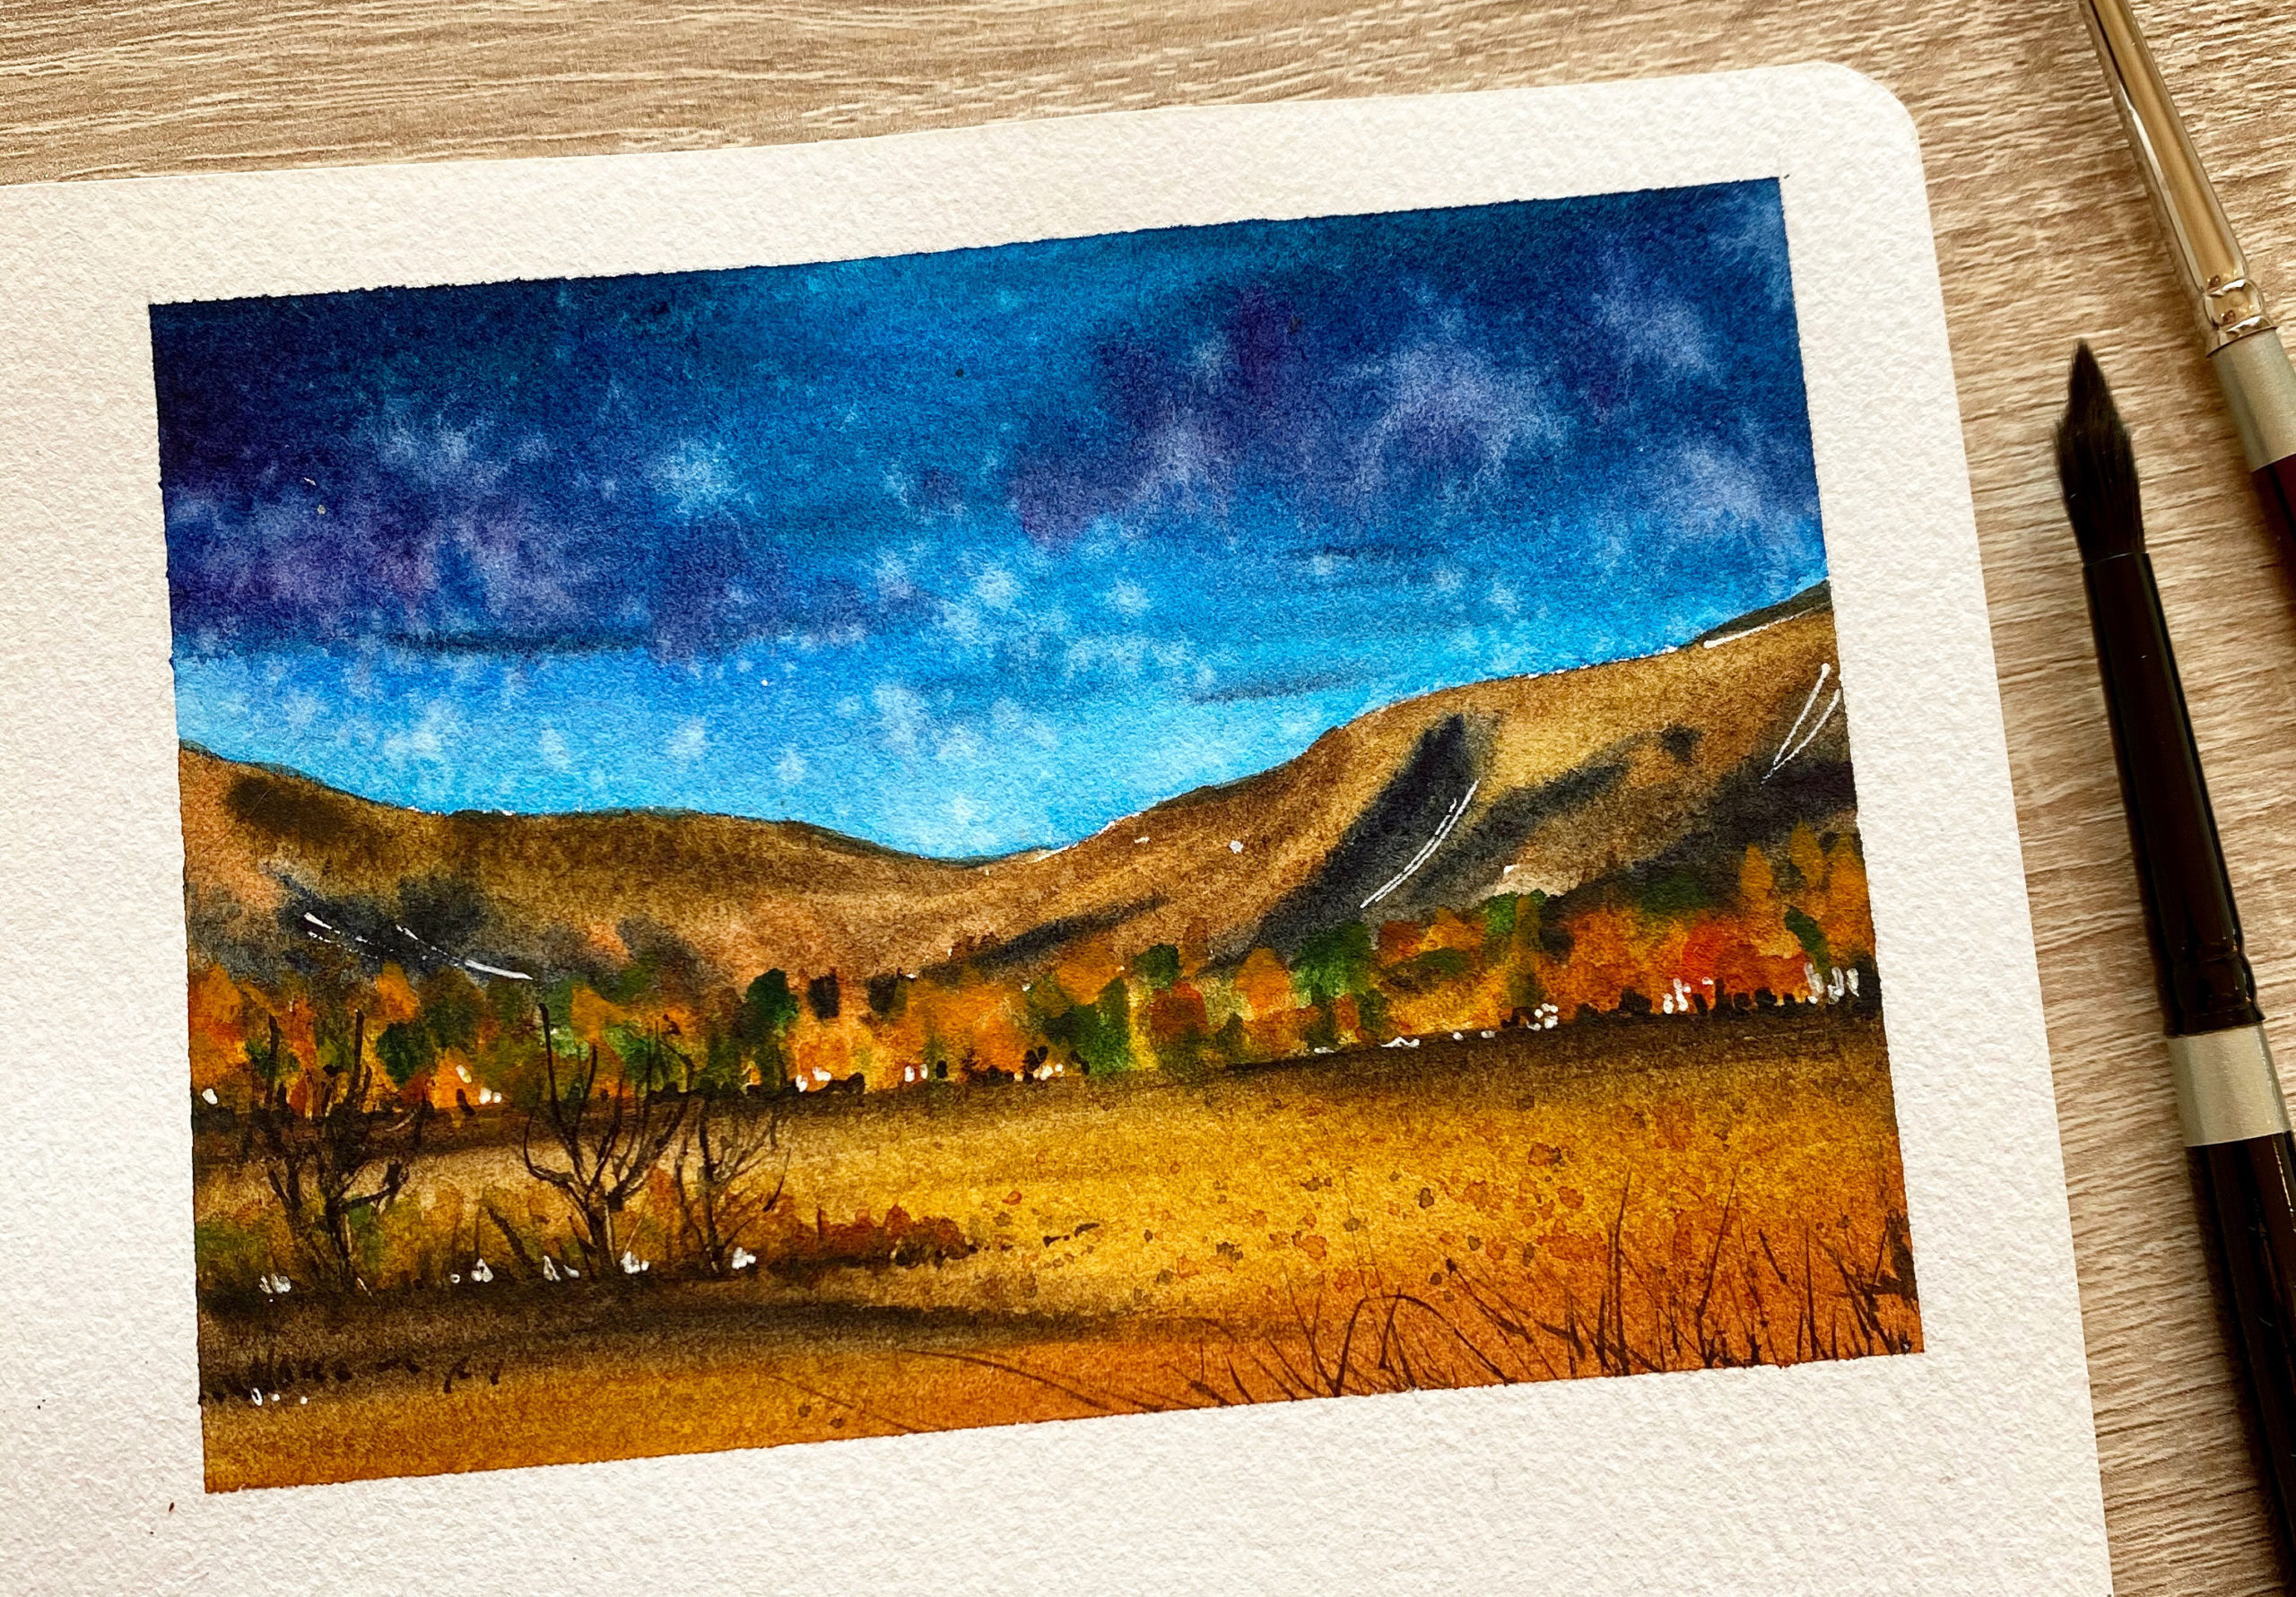
Would you like to paint a vivid landscape in watercolors with an intense blue sky? Follow this step by step tutorial 😉
Supplies
You will need:
1 – The Sketch
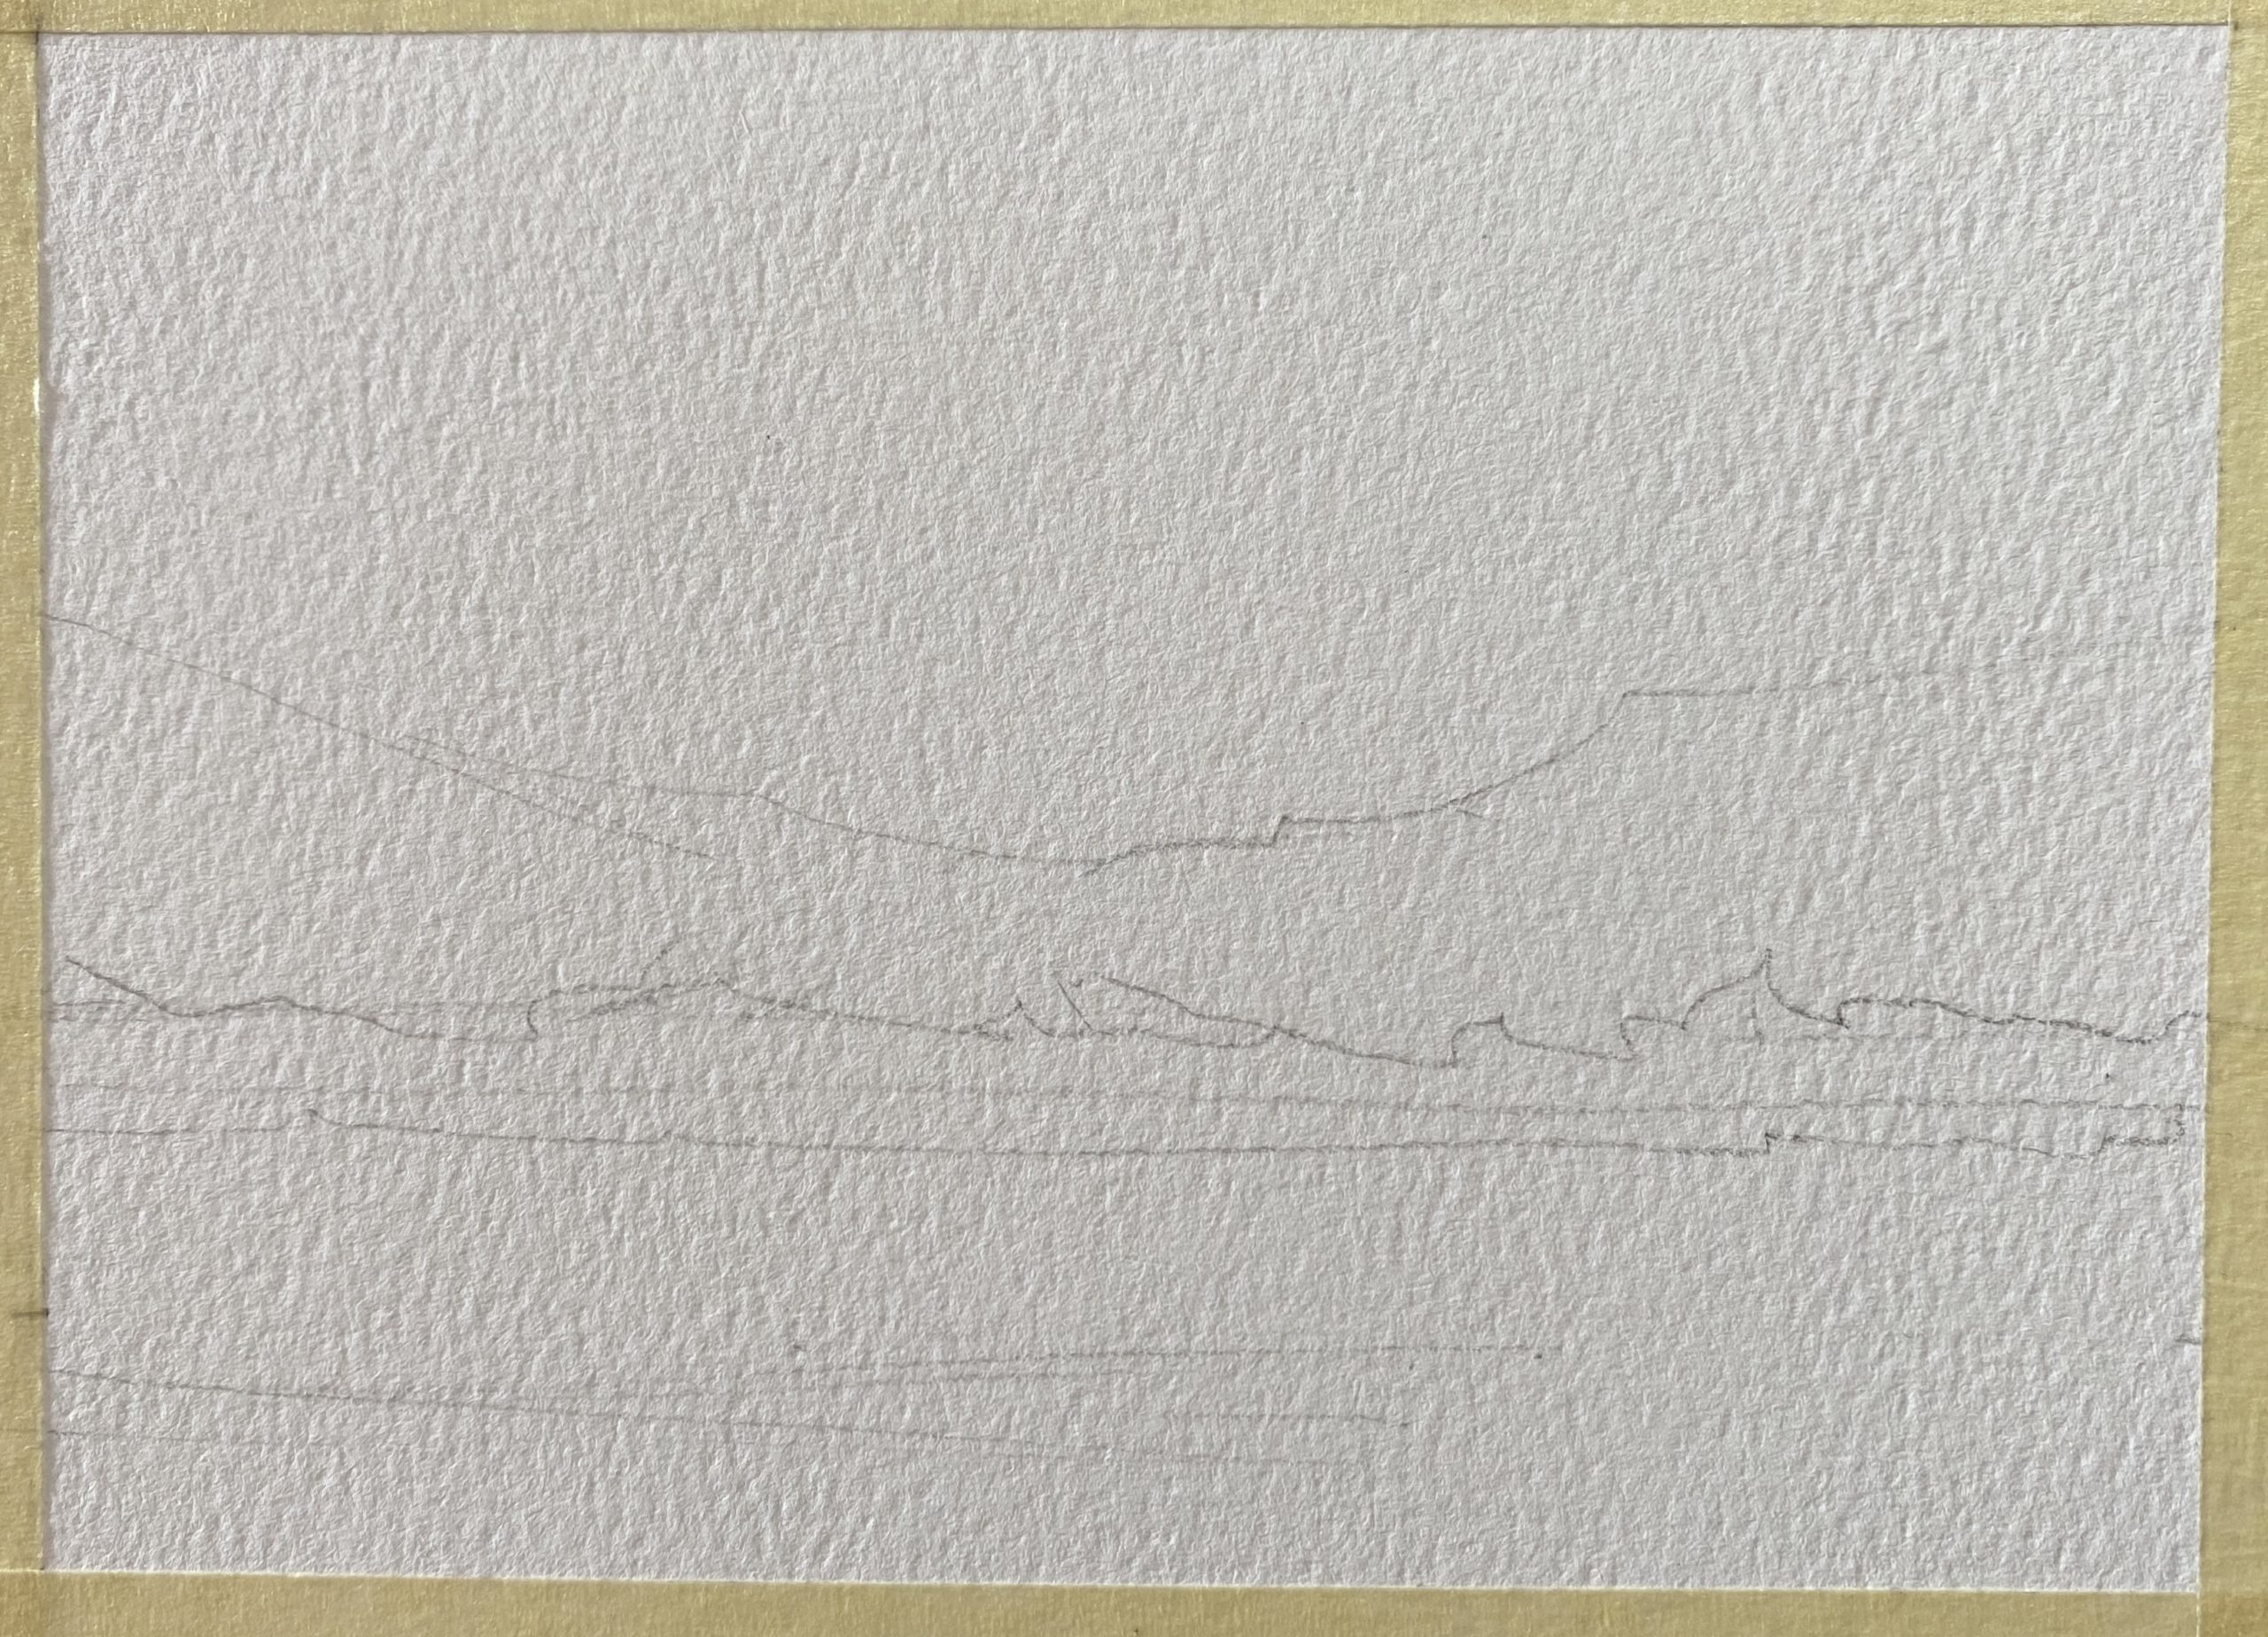
- Draw with few and light lines the outline of your landscape: sketch mountains and define the space for the forest.
- Stick the masking tape on the 4 borders of your sketch.
2 – Sky and ground

- Take the angle brush and start with the sky: apply Bright Blue first and then with Indigo with a bit of Magenta paint darker clouds.
- Paint big clouds starting from the top angles of the frame and then reduce their size as you reach the center where you will paint them as lines.
- Now take the round brush n° 4 and load it with clear water and splatter it in the sky, creating lighter and little blooms. If you like this kind of effect and you want to know more about the textures you can create, I recently published a class named “Stunning Watercolor Tools and Techniques for Beginners” and I think you will gonna like it a lot!
- Step forward to the ground. I first apply Raw Sienna with the angle brush and then with Burnt Sienna (red shade), Mars Brown and Sepia (darker brown) I create some shades to achieve uneven soil.
3 – The mountains and the forest
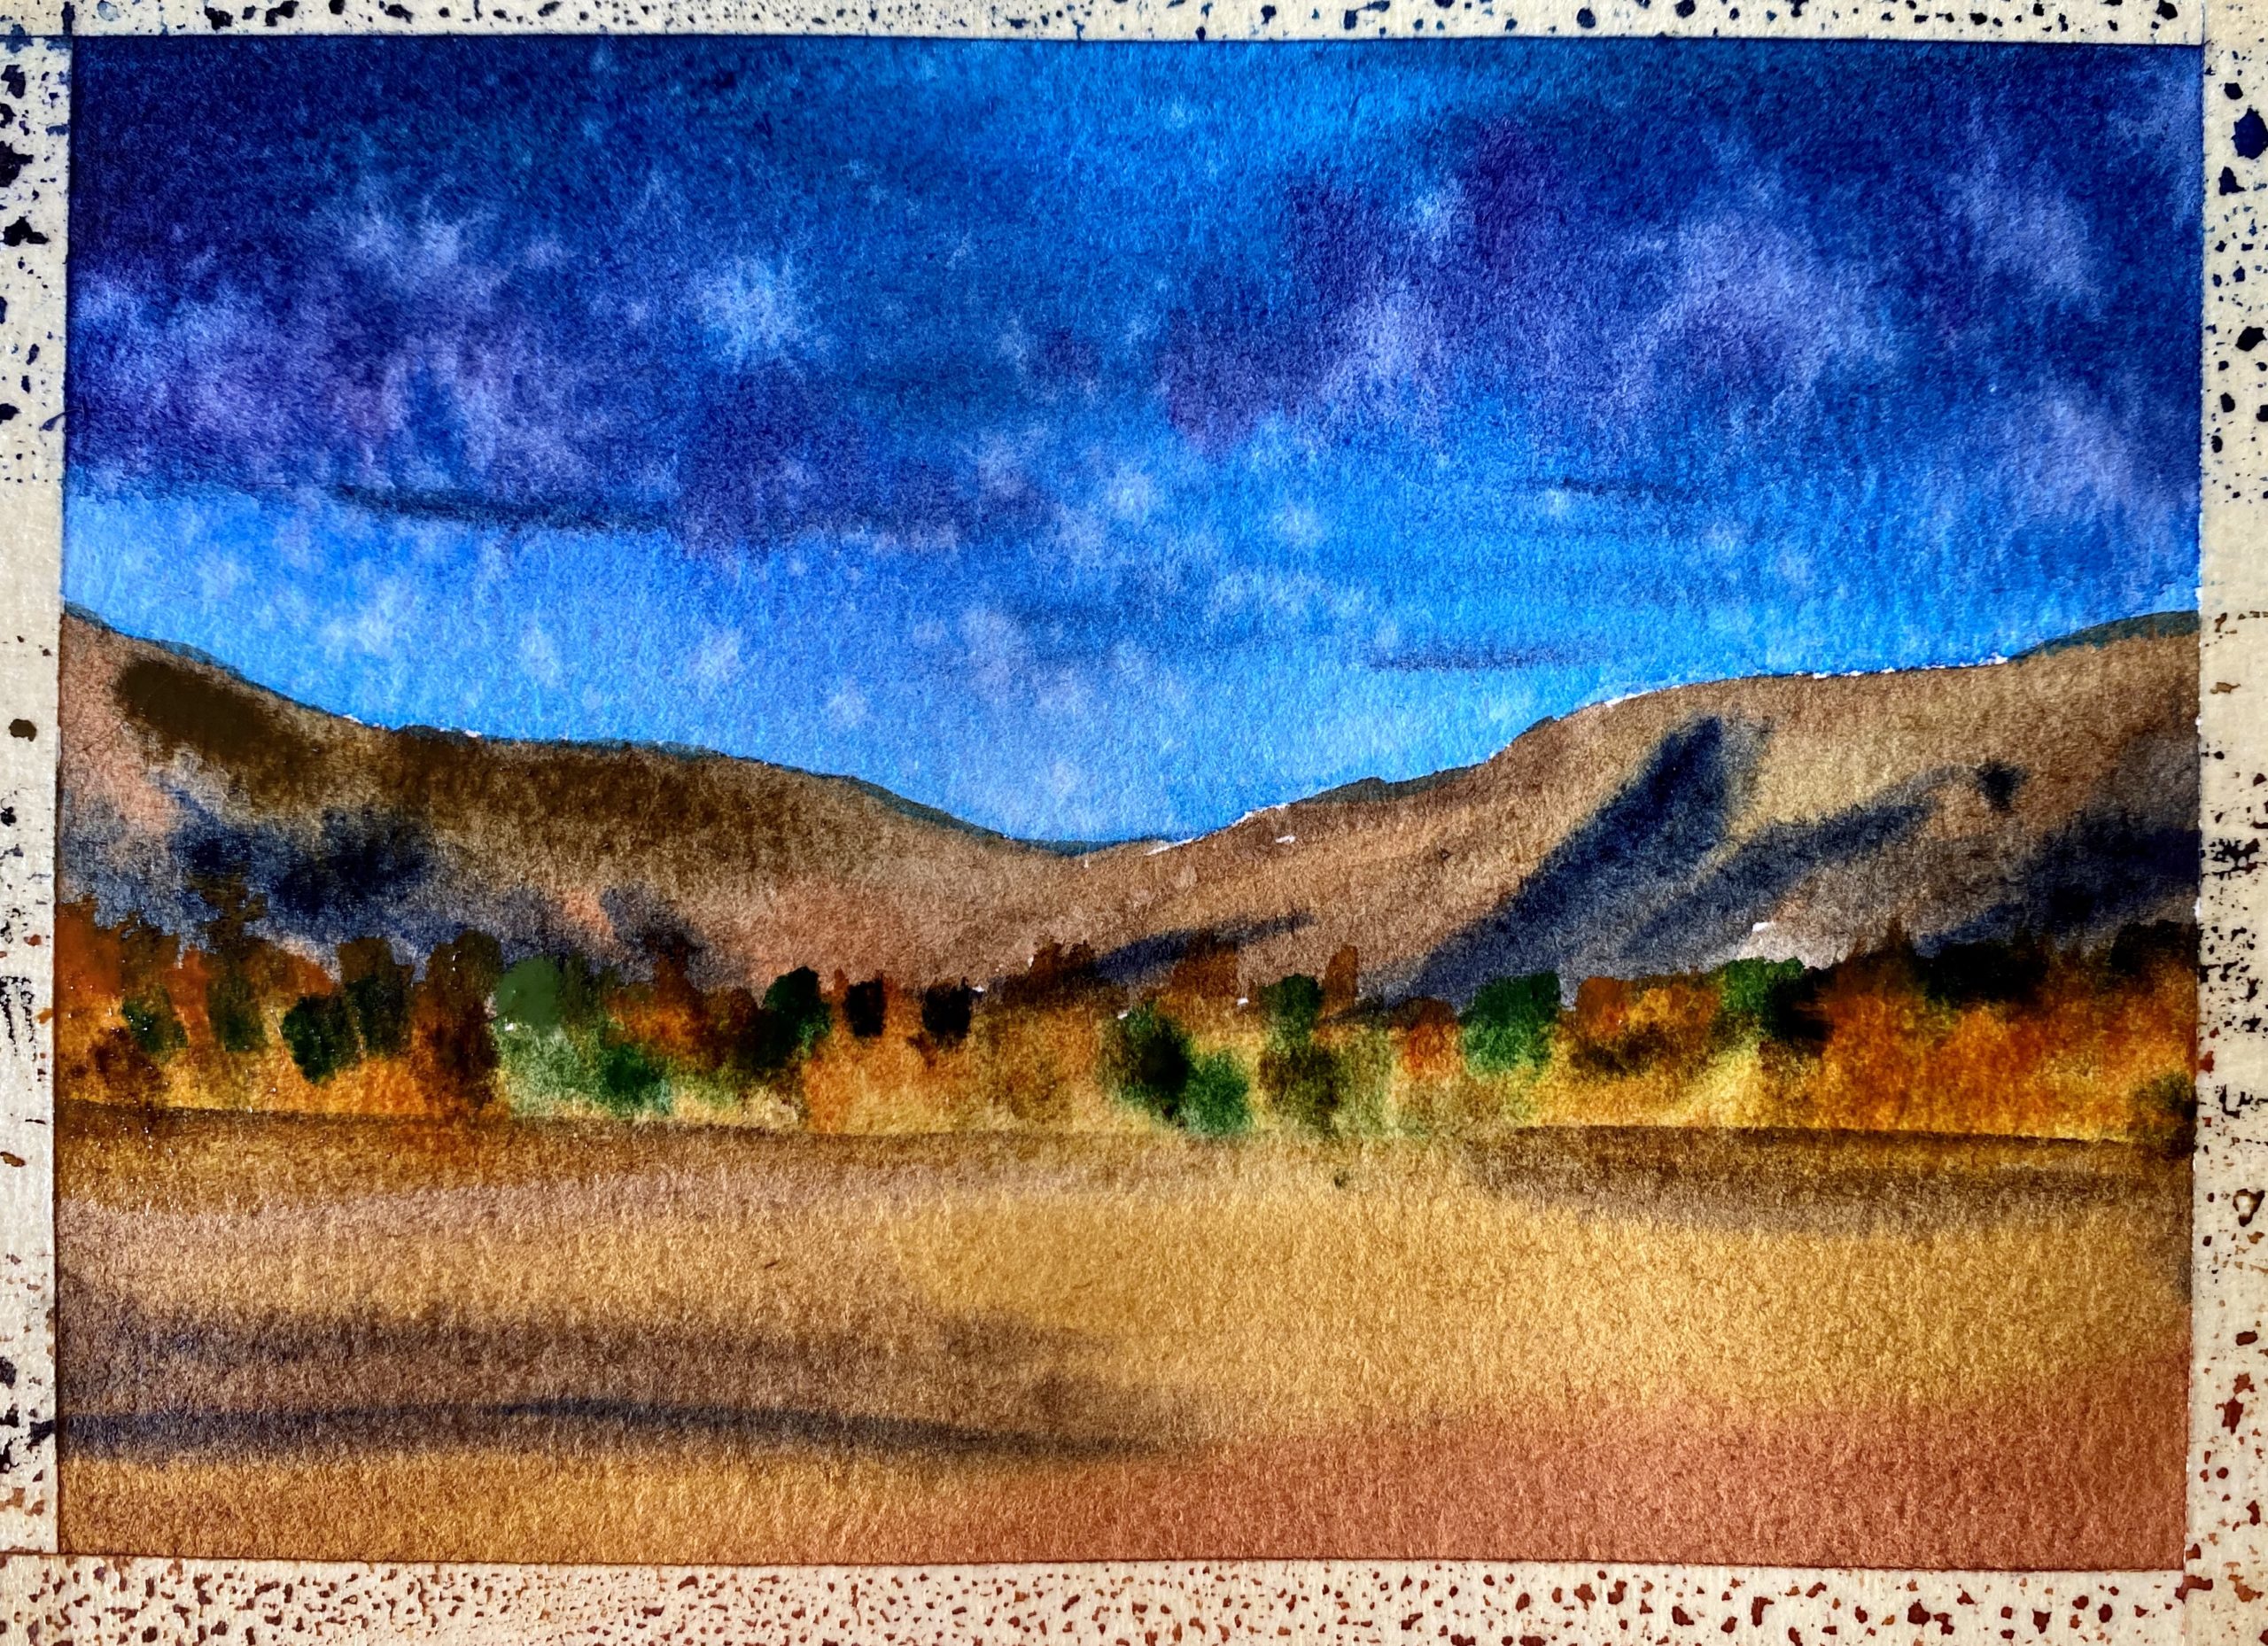
- (angle brush). Mountains: first I paint a wash of Umber on the area and then with Mars Brown, Indigo and Burnt Sienna I create points of shadows on them.
- Forest: when the mountains are dry, paint all over the trees area with Indian Yellow as a base of color.
- (round brush number 6). Next, in the wash still wet add dark spots of Indian Gold, Burnt Sienna, Green, Oxide Green and Mars Brown in order to make different types of greenery in the distance.
- Let dry.
4 – Add details
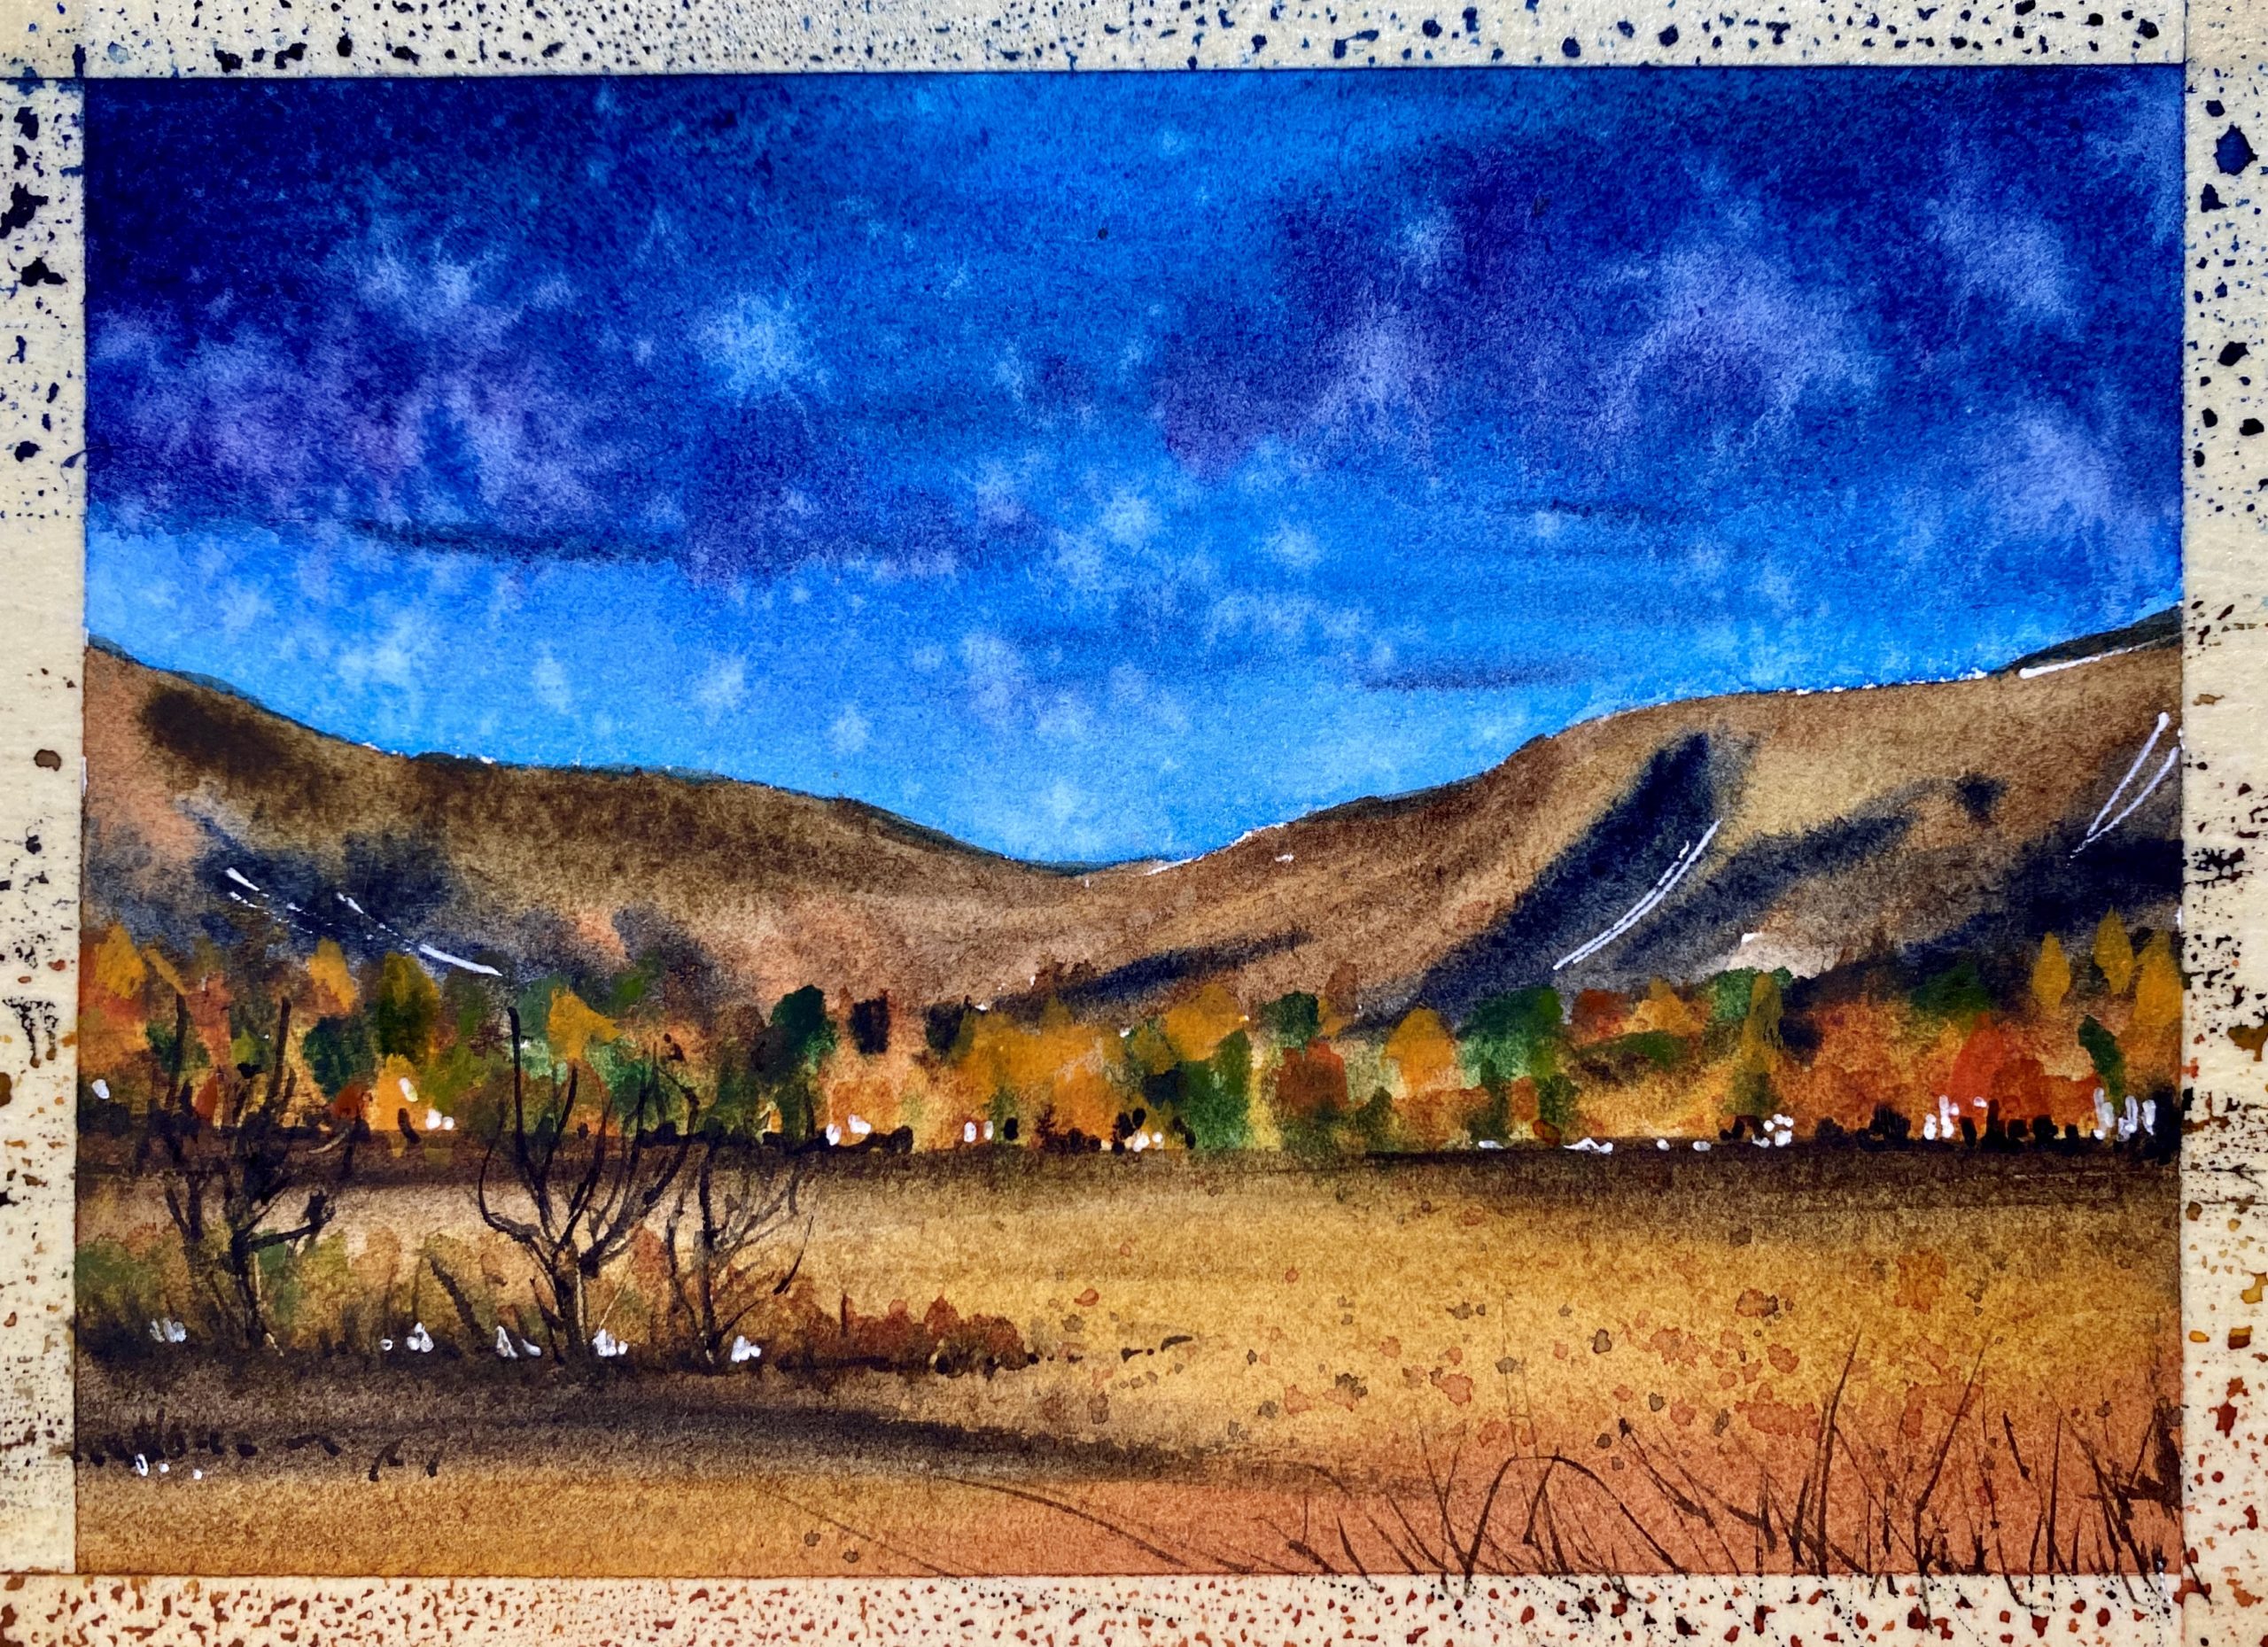
- Now take the rigger brush and carefully start to paint bare trees with Sepia. (go to this other tutorial for a demo video) and paint some bushes behind them with the same color of the forest but this time more diluted.
- With the fountain pen and the white gel pen draw some light and dark little dots and lines.
- With the rigger brush paint some brushwood in the bottom right angle of the painting.
- To finish, splatter some Red Ochre and Mars Brown with the small brush number 4 (remember to cover up the sky before you splatter!).
You completed it!
Now take a picture of your fabulous painting and, if you like, post it on social media!
Remember to tag me on Instagram (do it on the photo, not in the caption! This way i won’t miss it) with @chiaramazzetti.art and put the hashtag #chiaramazzettitutorial, i’d love to see what you create!
Happy painting!
Chiara
List of watercolor names (based on the brand i used for this painting: White Nights Nevskaya Palitra):